Record the forming route on the same line as the label identity before anyone approves the fit. An in-mold label is placed in the mold while the container is formed. A label applied to a finished bottle is a later handoff, and the evidence for that later handoff will not answer the mold question.
Robotic Automation Systems (February 27, 2023) describes in-mold labeling, inside an injection-molding comparison, as inserting a pre-printed label into the empty mold so the label becomes part of the molded part. Huarong (March 8, 2024) lists injection, blow molding, and thermoforming as separate routes. Techne describes label insertion before forming on its blow-molding route. This page turns those published sequences into a handoff record. It is an editorial checklist compiled from those supplier pages.
| What to have in hand | Where it comes from | Why it belongs on the record |
|---|---|---|
| Forming route | Molder’s description of this container | Injection, blow, thermoform, and after-forming put the label in different places |
| Label identity | The supplier who printed it | The mold receives a specific pre-printed label, not a category name |
| Insertion moment and method | The molder, for that route | Hold methods in the sources are tied to one route |
| Molded sample | The physical part from that route | Approval has to point at the part that carries the label |
| Named approver | The project team | None of the sources names a universal approver |
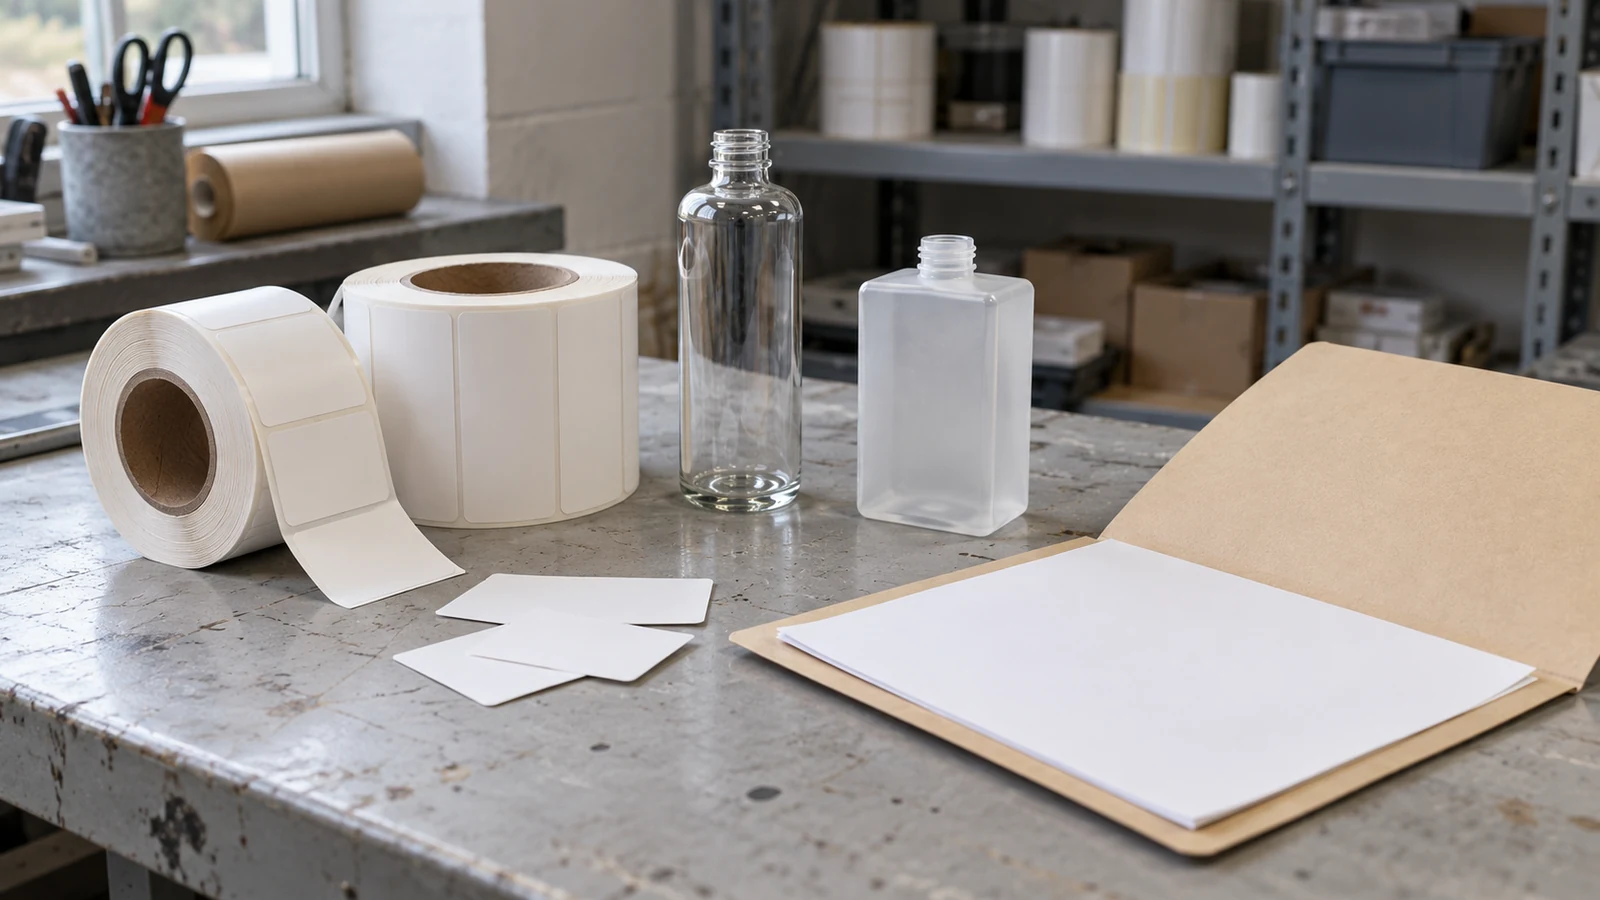
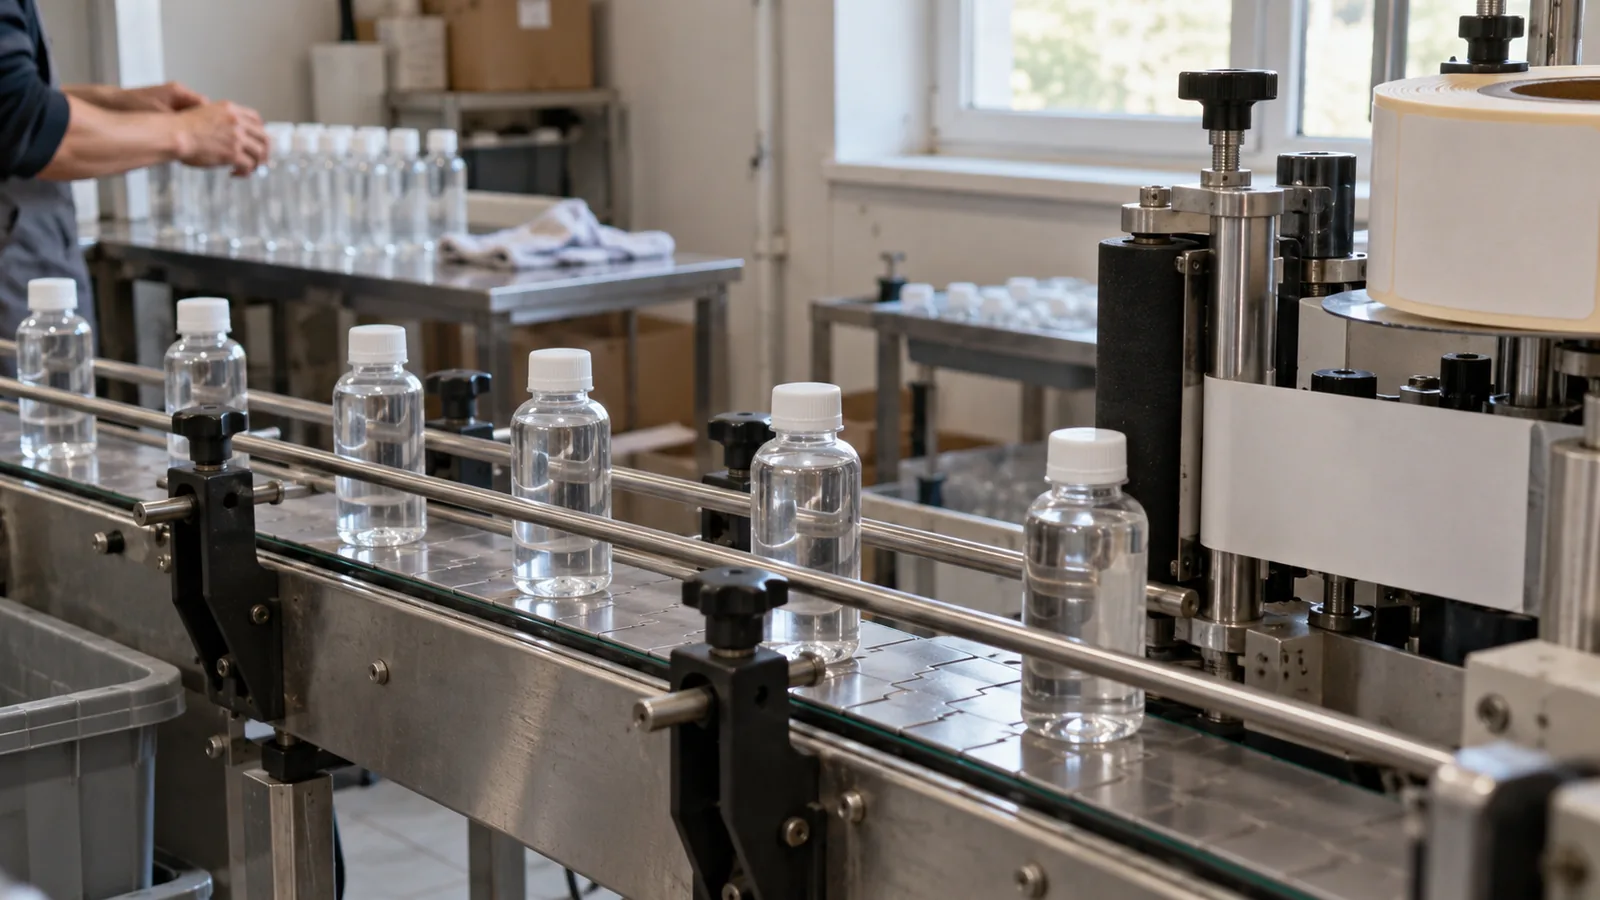
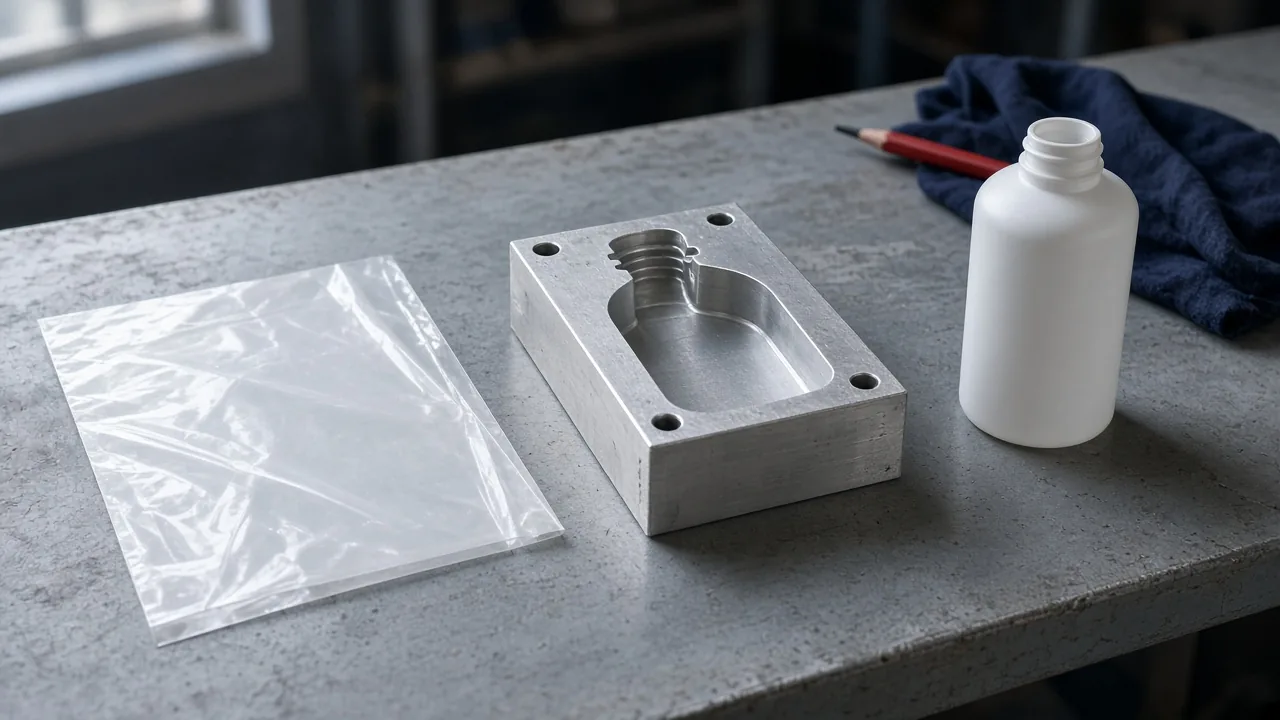
Images on this page are generated editorial photos or schematics for illustration. They are not a named mold, a shipment, or a trial.
Place the label on the forming timeline
The in-mold labeling process is readable only after the forming route is named. Huarong’s article separates injection, blow molding, and thermoforming, and it contrasts those routes with labels applied after production. Robotic Automation Systems keeps its account inside injection molding: the pre-printed label goes into the empty mold, vacuum ports, electrostatic charge, or another method holds it, the mold closes, and plastic is injected. Techne’s blow-molding page says the label is inserted into the mold before forming. On that page, filling comes after the labeled container leaves the blow molder.
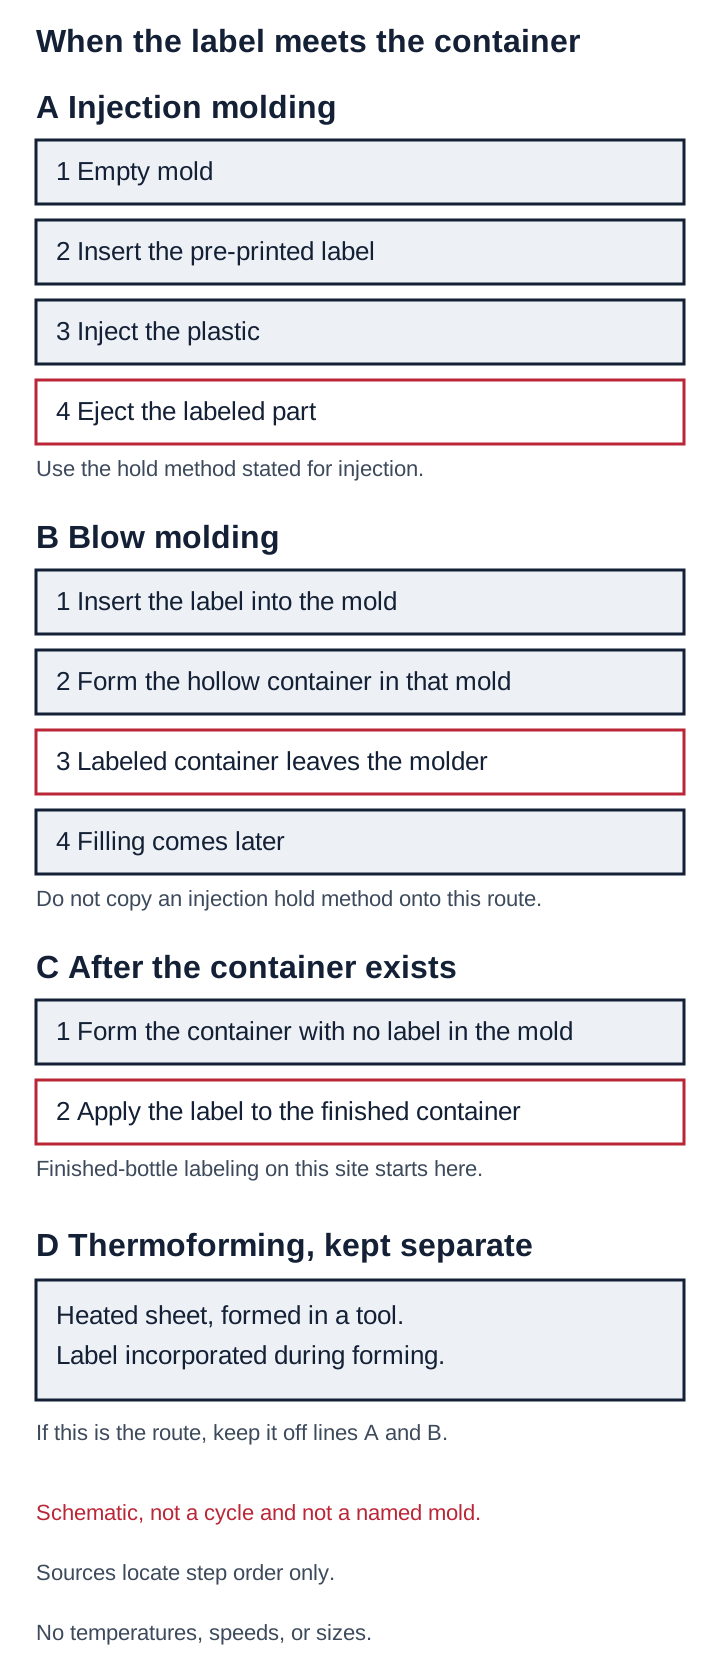
Schematic of step order only. No machine settings are shown, and the drawing is not a named mold.
| Route | When the label enters | What the fetched page describes | What to write down |
|---|---|---|---|
| Injection | Into the empty mold, before the plastic is injected | RAS: the label is held by vacuum ports, electrostatic charge, or other methods, then plastic is injected. Huarong: a robotic arm inserts a pre-printed polypropylene label, then the press injects, holds, cools, and ejects a labeled part. | Route, the insert method the molder states, sample ID |
| Blow | Into the mold before the hollow container is formed | Huarong, citing Yupo: a heated plastic mass is shaped in the mold and air forms the hollow part, with the label integrated. Techne: electro-mechanical robots with gripping arms and suction pads insert labels in time with the blow-molding cycle. | The same fields, using the blow-route method the molder states |
| After forming | On the finished container | RAS describes older methods as attaching a label after molding. Techne says other labeling methods run after molding, before or after filling. | A pointer to the finished-container record for this bottle |
| Thermoforming | While a heated sheet is formed | Huarong: preprinted labels are incorporated into the plastic sheet during forming. | Its own row, with the tool reference |
Huarong also lists container shape, size, surface consistency, and whether the print sits on the body or the lid as design questions. Those questions go on the project row in the words of your drawing and your sample. The example size and the label thickness in that article are left out of this record.
For in-mold bottle labels, write whether the bottle is the injection part, the blow-molded part, or a finished bottle labeled later. The inline and rotary container requirements apply once that finished container exists. They belong on the after-forming line.
Takeaway: Name injection, blow, thermoforming, or after-forming before any label requirement moves forward.
Split the label handoff from the mold handoff
The label supplier and the molder are answering different questions. All three fetched pages start from a pre-printed label. Techne lists flexo, gravure, screen, offset, and digital as ways those labels can be printed, chosen for the graphic result the job needs. Ask your supplier which of those, if any, this label uses, and write down their answer.
In its injection comparison with in-mold decorating, Robotic Automation Systems says IML labels are usually printed on polypropylene foils and are used most often on shorter-lived products such as food containers, cosmetic containers, water bottles, and household products. Huarong also describes the inserted piece as a pre-printed polypropylene label. Write the material name your supplier states for this job. A foil description from an injection article stays on the injection row unless the blow-molding supplier states the same material.
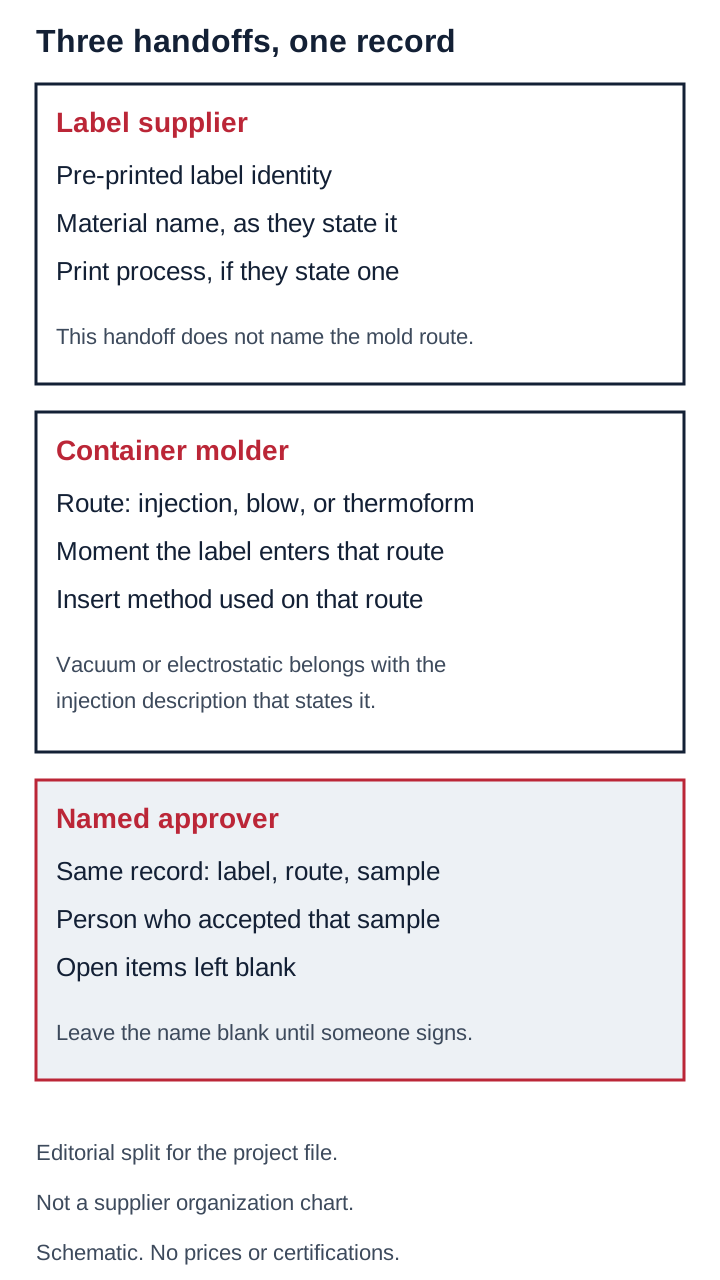
Editorial handoff split for a project file. Not a supplier organization chart.
| Party | Evidence that party can supply | Left for someone else |
|---|---|---|
| Label supplier | Label designation, stated material, stated print process, artwork revision | The mold route, and whether a molded sample fits |
| Container molder | Forming route, insertion moment, insert method on that route, mold or tool reference | A construction written for a label applied to a finished bottle |
| Named approver | A signature on one record that holds the label ID, the route, and the molded sample | A rule that every in-mold label behaves the same way |
RAS says that, in the injection process it describes, the label becomes part of the molded piece. Techne says that on its blow-molding route the label and the container fuse into one body. This checklist keeps both sentences attached to the route the page was describing. Promotional claims about durability, extra equipment, and recyclability stay off the record. The sample row is where the project writes what the molded part shows.
Common mistake: Sending a face, adhesive, and liner specification to the molder as the description of the label that enters the mold.
The pressure-sensitive construction checklist is the record for a label applied to a finished bottle. The label-ready bottle handoff starts later still, with a filled and capped bottle at a labeling entrance.
Takeaway: Ask the label supplier for the printed label, and ask the molder for the route and the insertion moment.
Approve the fit on a matched sample
Huarong’s injection sequence ends when the press ejects a part that already carries the printed label. Techne’s blow-molding description ends when the container leaves the molder with the label in the wall, and filling comes after that. The approval has to name that physical part. A flat artwork file, or a label stuck on a different bottle, is a different object.
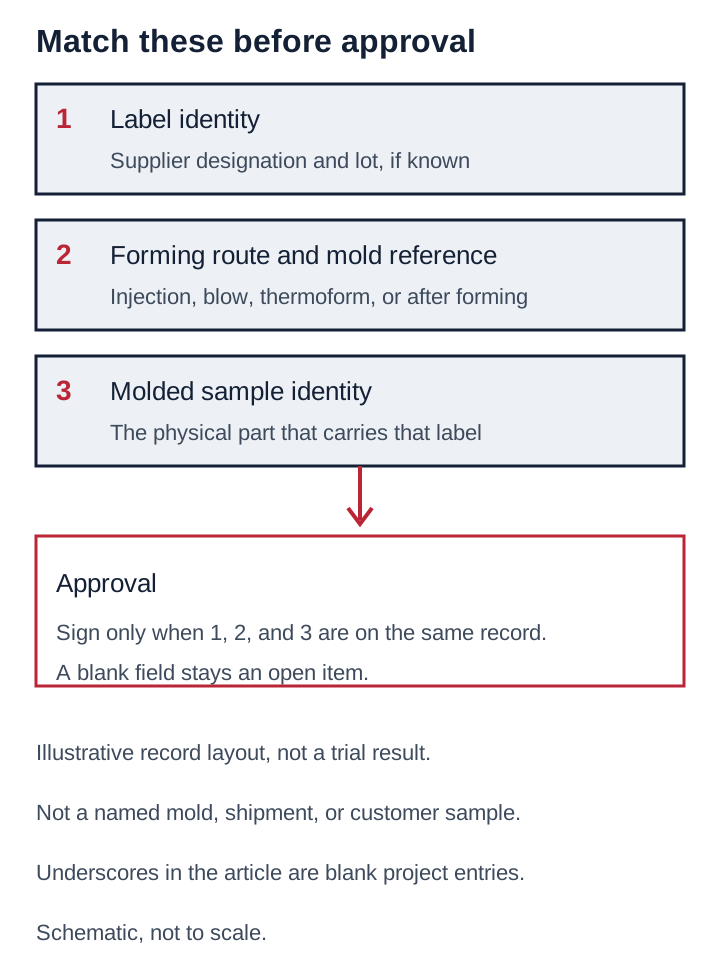
Illustrative record layout. Not a completed trial, a shipment, or a customer sample.
| Field | Entry |
|---|---|
| Shared record ID | ___ |
| Forming route | injection / blow / thermoform / after forming |
| Label identity and stated material | ___ |
| Print process, if the supplier states one | ___ |
| Insert method, in the molder’s words for this route | ___ |
| Mold or tool reference | ___ |
| Molded sample ID | ___ |
| Where the print sits | body / lid / other: ___ |
| Surface, in words you can see on the sample | ___ |
| Approver name and date | ___ |
| Still unknown | ___ |
Underscores are blank project entries, not measured values. If the drawing states a size, copy that size with its unit and the drawing revision. Otherwise leave the size blank.
The labeling equipment section keeps this mold handoff beside the finished-container equipment records.
Takeaway: Approve a named molded sample whose label identity and forming route sit on the same record.
When this record stops
Mold design, resin choice, machine selection, speed, price, and environmental certification belong in other documents. Recyclability, extra equipment, and whether a label stays on the part are questions for the sample and for evidence aimed at those questions.
In-mold decorating, in the Robotic Automation Systems comparison, is a separate injection process for longer-lived parts such as appliances, toys, and automotive components, and that page says the label material and thickness vary. An IMD part needs its own record. This page stays with the container-forming handoff.
Takeaway: Use this record to keep the forming route attached to the label identity. Take materials, machines, and compliance to evidence written for those questions.
Method and sources
Compiled from Robotic Automation Systems, “In-Mold Labeling vs. In-Mold Decorating” (February 27, 2023), Huarong Group, “What is IML?” (March 8, 2024), and Techne Packaging’s page on in-mold labeling for blow-molded containers. The pages were fetched on October 11, 2026, and read for this article on October 12, 2026. All three are supplier-authored. Huarong’s blow-molding paragraph cites Yupo. This article uses Huarong’s wording of that paragraph.
Left off the record: Huarong’s label-thickness range and example container size, machine model names, prices, and promotional claims about recyclability, extra equipment, and label release. The timeline, the responsibility split, and the sample record are editorial. Our editorial policy explains how sources and schematics are handled.
Version record: October 12, 2026. New container-molding handoff record for in-mold labels.
Takeaway: The sources locate the step. The matched sample is what the team can approve.