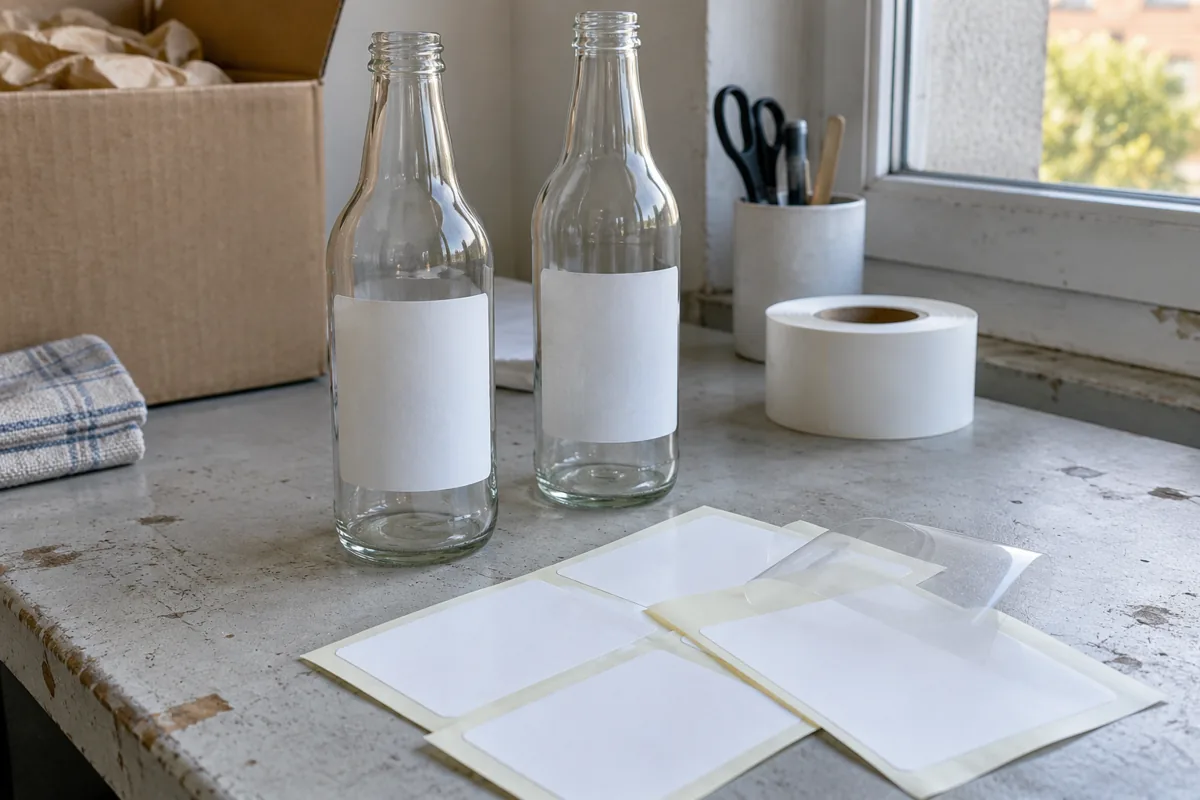
How to Waterproof Bottle Labels: Check the Printed Proof
Check bottle-label material, print, finish and adhesive together, then record legibility, surface damage and adhesion under the intended water contact.
From material choice
to the finished bottle.
THE REFERENCE / Printing & Application
Connect artwork, bottle surfaces and application conditions with the finished appearance.
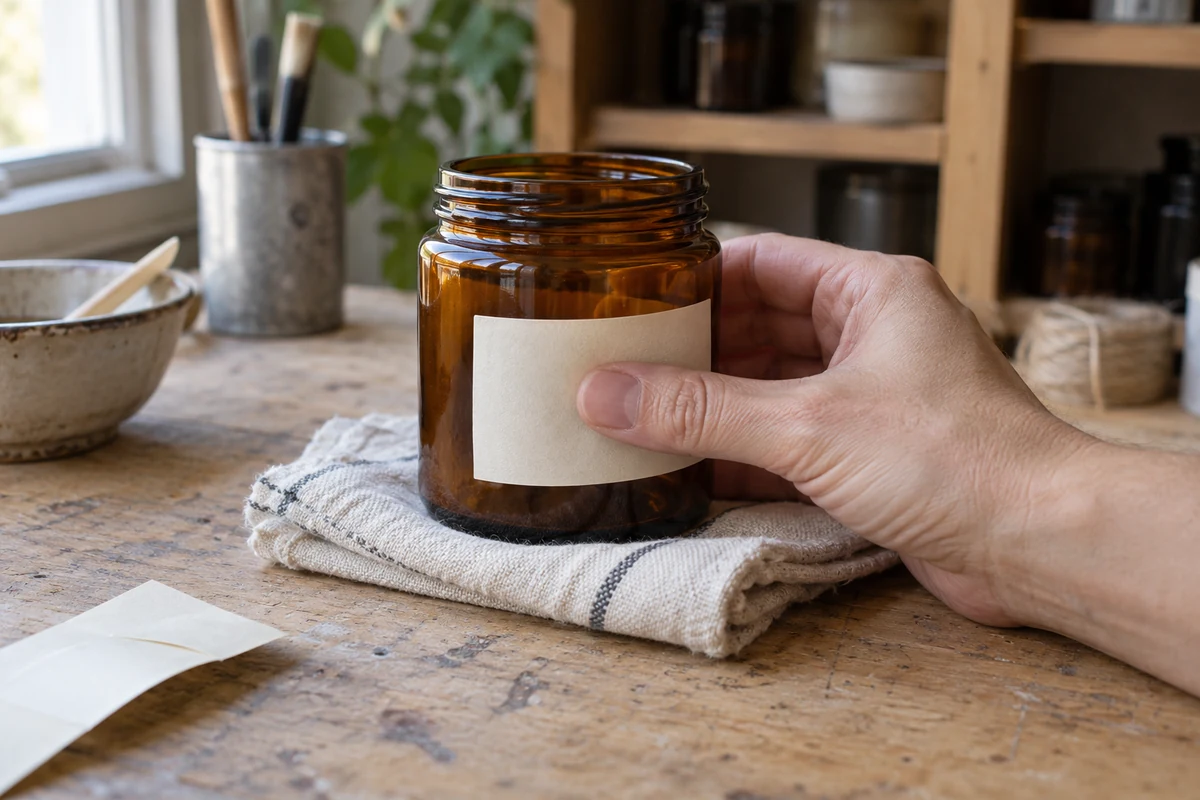
Clear film does not by itself deliver an invisible label. Artwork, white ink, adhesive clarity, container texture and how the label is applied all affect the finished impression. This section turns appearance and application questions into an observation checklist, without prescribing machine settings for an untested package.
For a complementary view, continue to Equipment.
To compare appearance on the actual filled package, use Clear vs. White Bottle Labels: Plan the Artwork Proof. Record the background, transparent areas and white-ink questions together.
When a sample changes appearance, start with Bottle Label Bubbles, Wrinkles and Lifting: Record Before Adjusting. Record the symptom and its timing before choosing a cause or changing a setting.
When a sleeve shrinks onto the bottle and artwork shifts from where the proof placed it, use Shrink Sleeve Bottle Labels: Map the Artwork From Proof to Bottle. Keep the bottle, film and artwork revisions paired while you follow the logo, key copy and seam through each state.
When extra copy is stored in a label that has to be opened, start with Extended Content Labels: Proof the Opening and Reading Sequence. Record the closed cover, the first opening, the panel order and the reclose on the actual container.
Check bottle-label material, print, finish and adhesive together, then record legibility, surface damage and adhesion under the intended water contact.
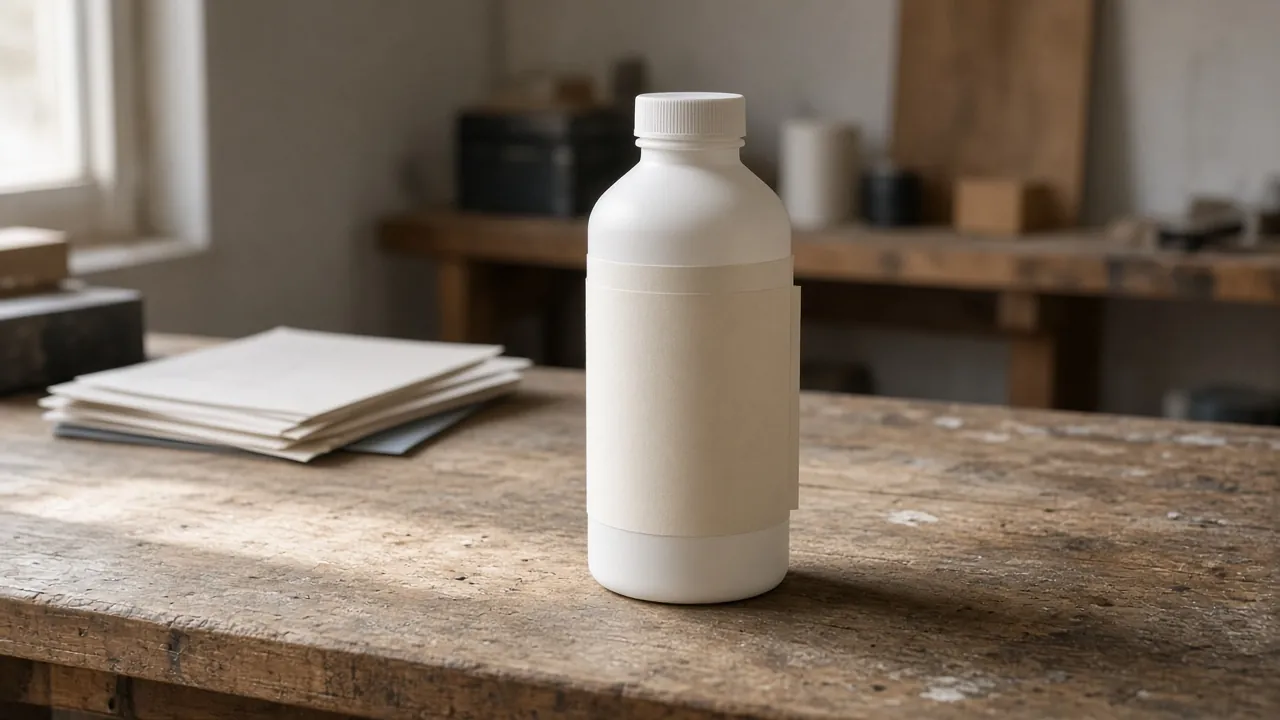
Record the closed cover, the first opening, each opened panel, and the reclose on the container before treating a flat artwork file as the reading order.
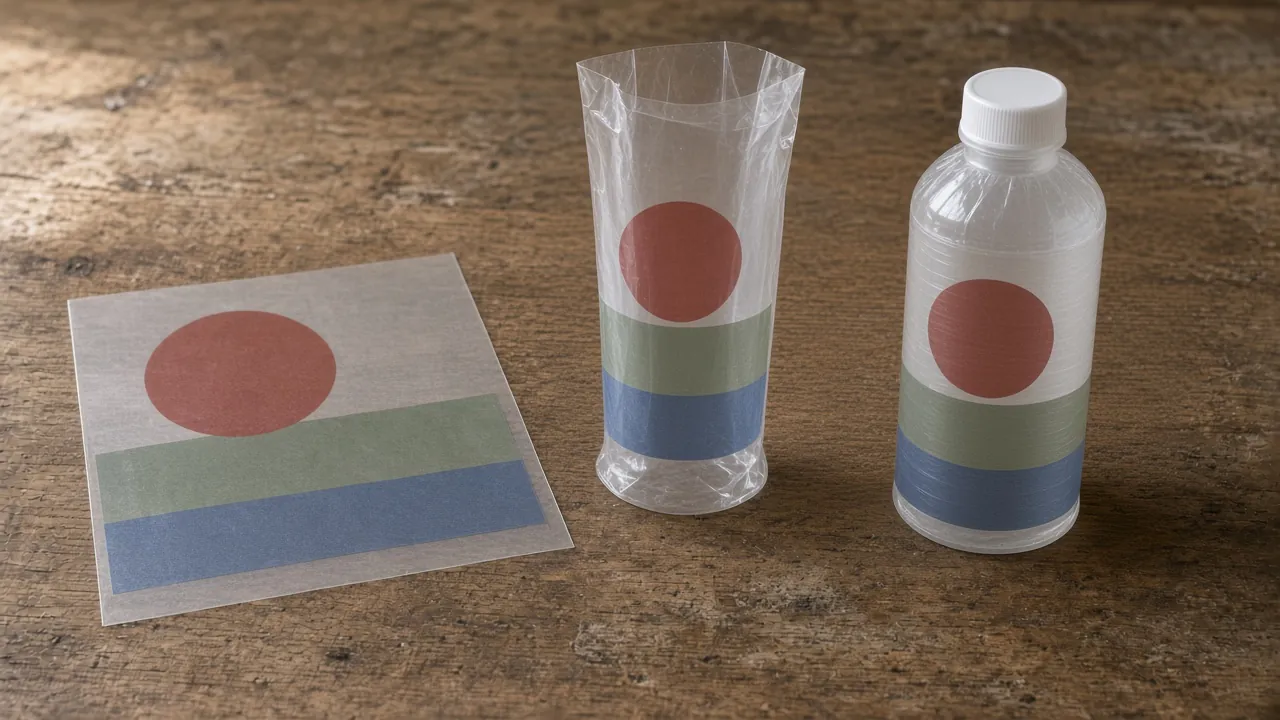
Pair the bottle, film and artwork revisions, then follow key artwork and the seam from flat proof to unshrunk sleeve and shrunk bottle in one record.
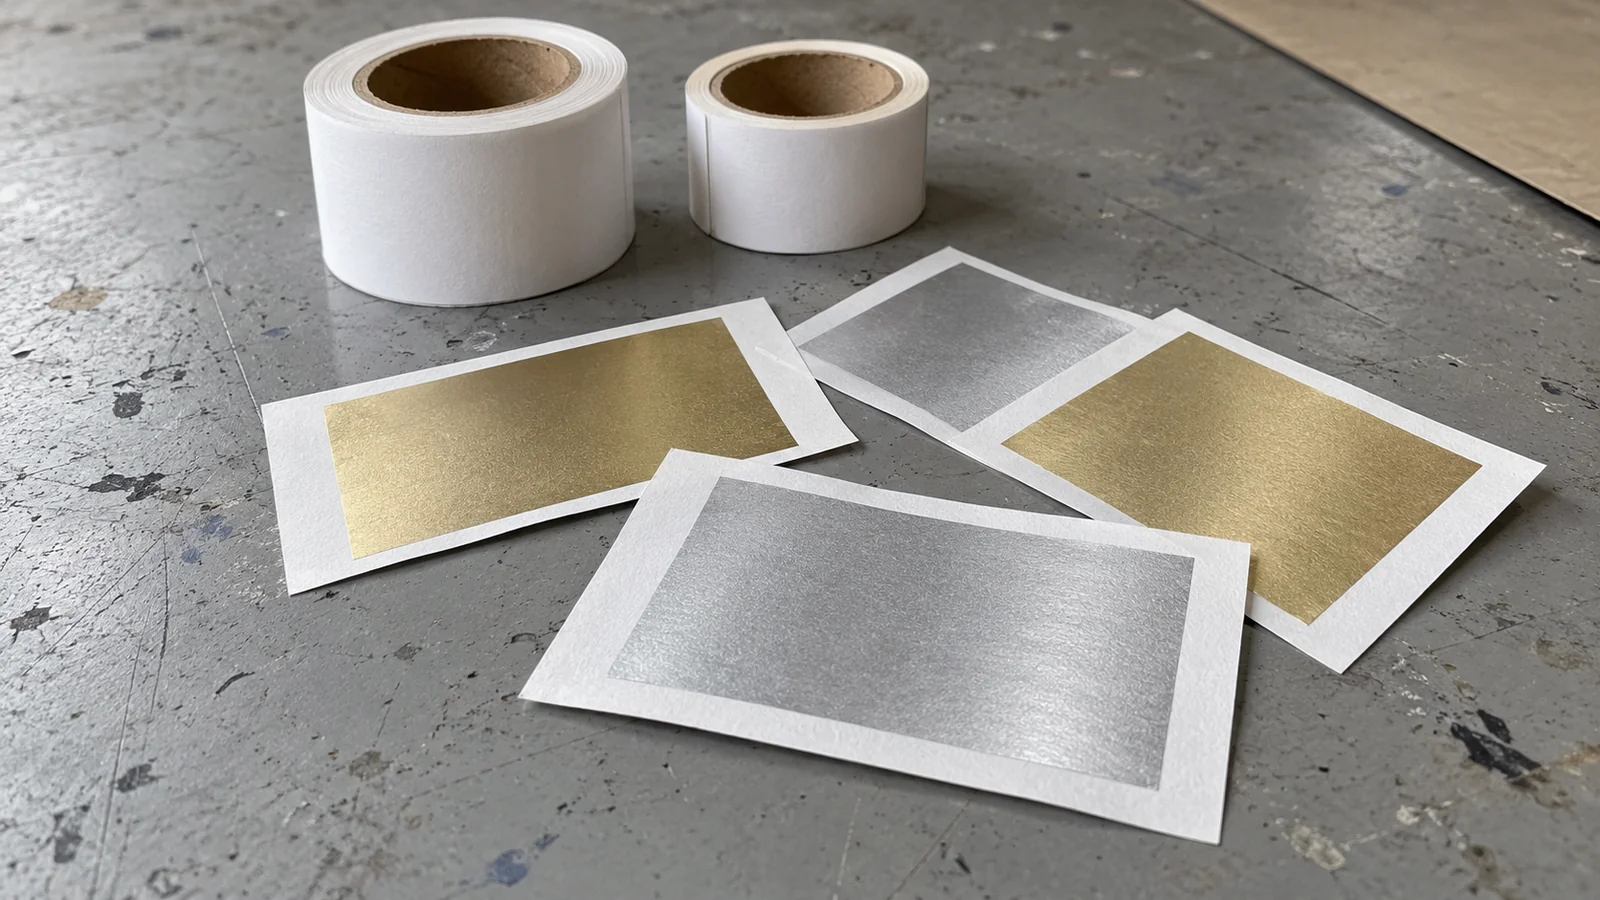
Turn Stahl's Senoprint announcement into a paper-label trial brief covering substrate, protective topcoat, comparison samples and supporting documents.
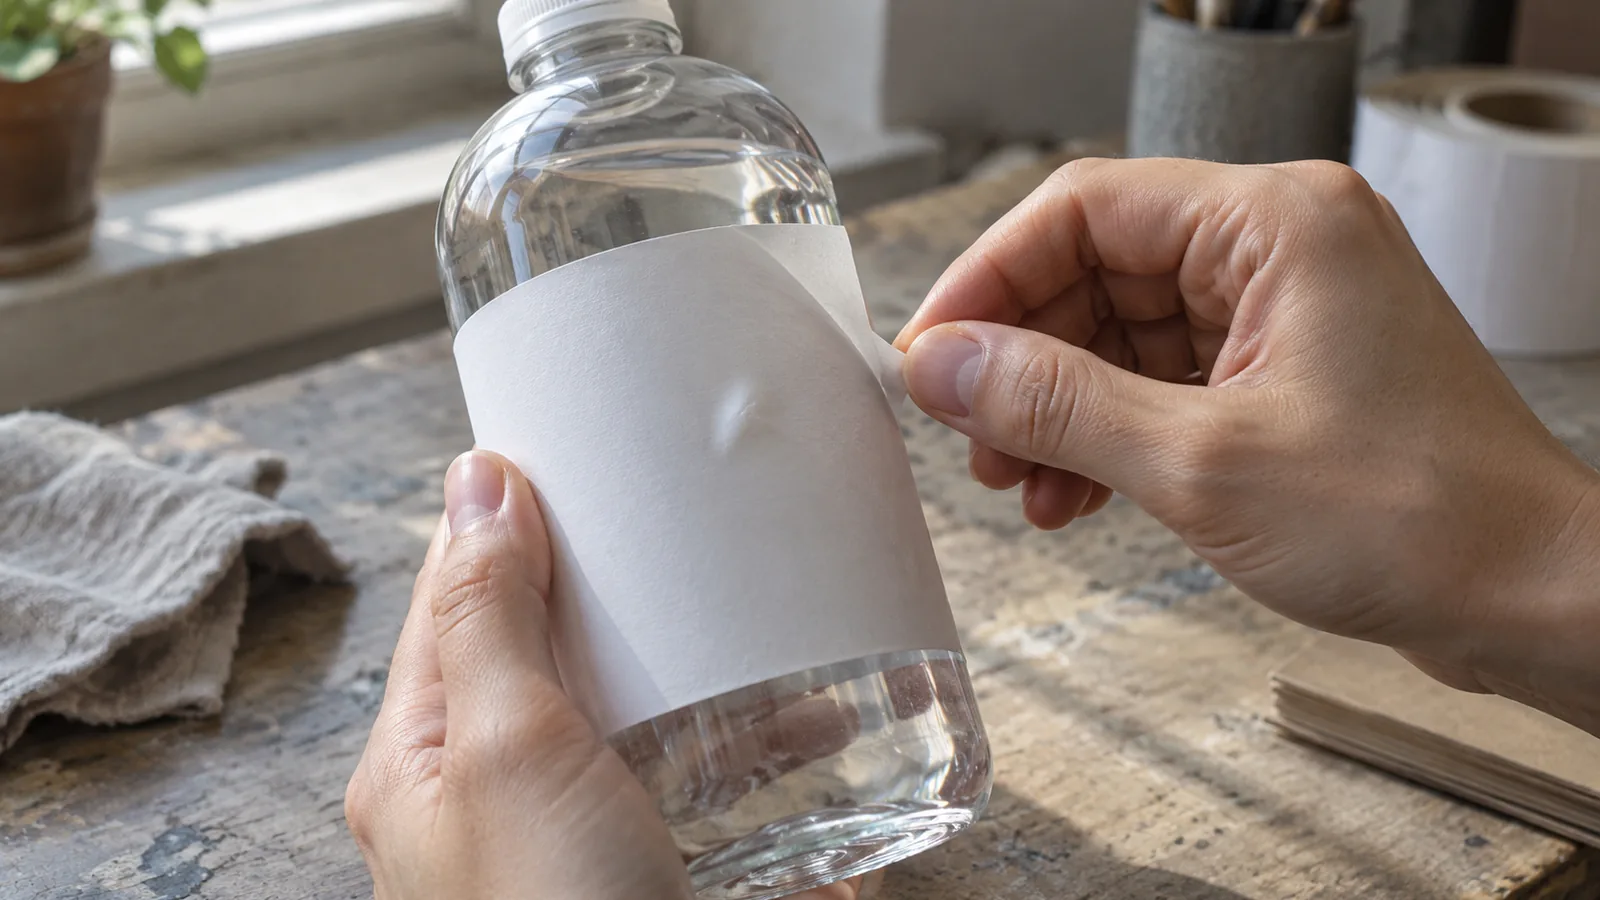
Distinguish bottle-label symptoms and timing, preserve sample identities, and plan one controlled comparison before choosing a cause or adjustment.
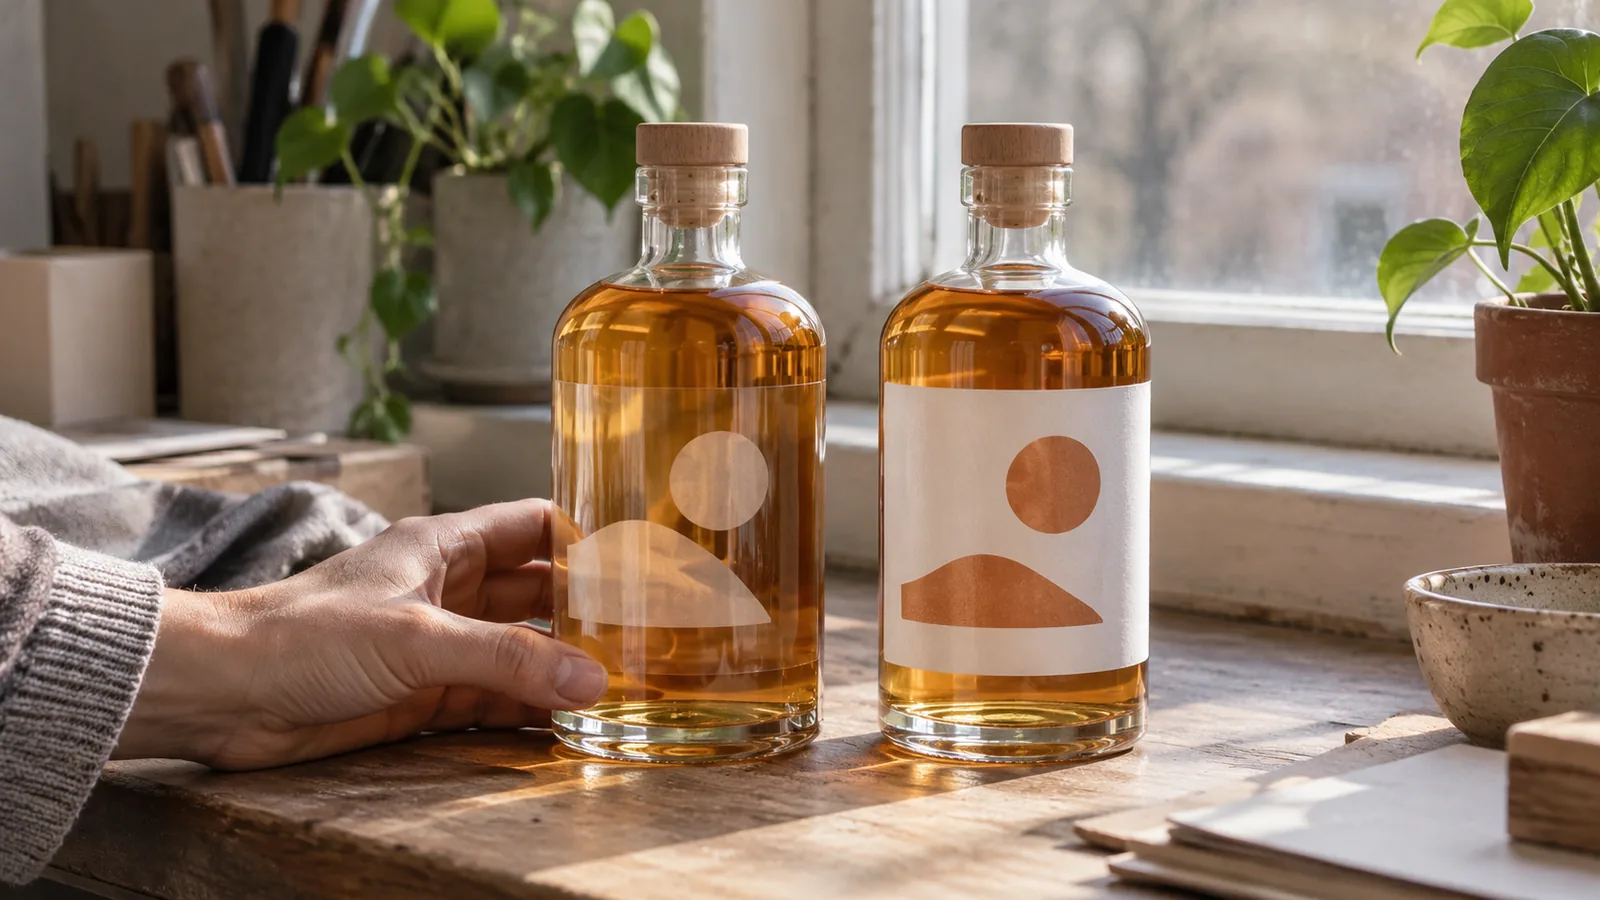
Compare clear and white labels on the same bottle and fill, with transparent areas, white ink and viewing conditions recorded beside the artwork.