Treating every label defect as a labeling-station problem can waste an investigation when it overlooks the bottle state delivered by filling and capping. Record the arriving bottle’s exterior surface, posture, spacing and contact areas, then relate those observations to the exact label construction and sample result.
A label-ready bottle is a project-defined handoff state, not a universal dry-bottle rule. The useful record identifies what arrives at labeling and what the proposed construction and handling require. This guide compiles public integration and application guidance into a boundary checklist; it does not design an entire line, claim machine-trial experience or prescribe control settings.
| Input or item | Typical value or source | Why it matters |
|---|---|---|
| Package state | Identified filled/capped sample | Establishes what arrives at labeling |
| Exterior surface | Actual observation and supplier scope | Connects surface state with construction suitability |
| Posture/orientation | Marked reference and transfer observation | Identifies the presentation required for the label |
| Spacing | Recorded arrival pattern under the reviewed condition | Makes the application context traceable |
| Contact areas | Package drawing and handling proposal | Shows where the package is touched before/after labeling |
| Accumulation context | Observed pause/restart sequence | Identifies changes concealed by a steady-state view |
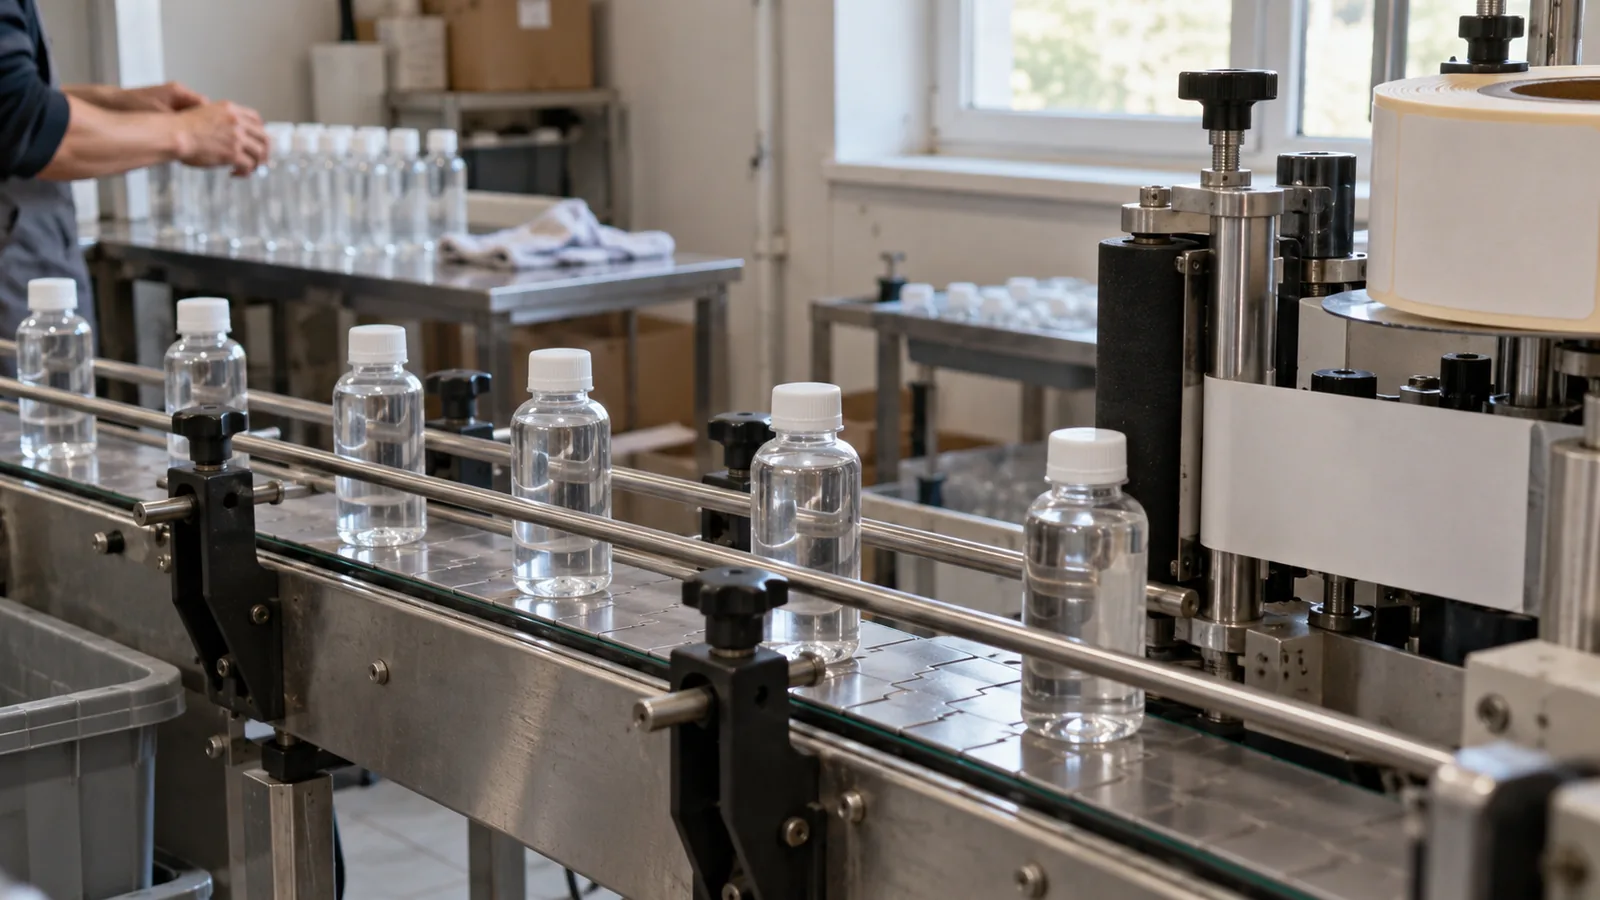
Images on this page are generated editorial photos for illustration, not actual packages, test records or performance evidence.
Define the label-ready bottle state
Write the actual arriving condition beside the requirement it is meant to satisfy. ZXSMART’s integration guide includes bottle stability, spacing and orientation; CTM discusses surface and construction compatibility. Our handoff table brings those observations together without declaring that any one surface condition or arrival pattern suits every label and application method.
| Handoff field | Observation to record | Requirement/evidence to attach |
|---|---|---|
| Bottle and package state | Bottle ID, closure and filled/capped state | Intended sample identity |
| Surface and environment | Visible moisture/residue/marks plus actual container temperature and relevant application environment, if recorded | Exact construction supplier’s applicable instructions |
| Posture and orientation | Arriving posture and reference location | Required label position relative to the bottle |
| Spacing | Arrival pattern linked to a photo/video segment or actual measurement with unit and time | Candidate-specific presentation requirements |
| Contact regions | Where guides or handling touch the actual package | Marked drawing and label-panel relationship |
| Accumulation/restart | What occurred during the observed pause and restart | Identified sequence and remaining review question |
| Label sample | Construction, contour, batch and print/finish | Actual label used for the observation |
Copy each handoff entry into a blank actual record: shared handoff ID ___; individual bottle/sample ID ___; observation point ___; actual condition/value and unit if applicable ___; time/environment ___; requirement document and revision ___; photo/video reference ___; unresolved item and evidence provider ___. This is an editorial form; “label-ready” requires the project’s own basis, not a universal threshold.
Use the pressure-sensitive construction record for the label identity. The container requirements for inline and rotary labeling defines support and orientation independently of an assumed layout advantage. The equipment section connects those requirements to this boundary record.
Takeaway: Define the arriving state and its intended requirement in the same handoff entry.
Follow the state through the handoff
Observe the bottle at the boundary, not only upstream or after a label defect appears. An upstream photo does not show what arrived at labeling after transfer or accumulation. Preserve the observation sequence and sample identity so surface, posture and spacing changes remain separate from a changed label construction.
Illustrative photo — generated editorial image, not a test record, customer package or performance evidence.
Unresolved entries lead to an evidence request, not an automatic acceptance or settings change. At a glance: Surface · Posture and orientation · Spacing · Contact areas · Accumulation context · Sample record · Unresolved item · Request evidence.
- Identify the filled/capped package and label sample represented.
- Observe the exterior surface at the labeling entrance.
- Record posture and the reference used for any required orientation.
- Record arrival spacing and the observed accumulation or restart context.
- Mark relevant contact regions relative to the intended label panels.
- Link the labeled sample and later observations to the same record.
This sequence is a documentation route, not a control program or an instruction to change machinery. When a small package has an uncertain wall area, use the small-bottle label-zone checklist first. A moving wall or changed construction belongs in the BOPP, PET and PE conditional matrix.
Common mistake: Recording the bottle as “clean” upstream without observing its actual exterior at the labeling entrance.
Takeaway: Observe the boundary state that the label actually encounters.
Ask each station for observable evidence
Each station can contribute an observation of the package it handles, while the handoff record ties those observations together. ZXSMART discusses transfer stability and upstream/downstream context. Our evidence table concentrates on what a reviewer can see and identify on one bottle’s journey, rather than assigning an unverified cause or a corrective setting to a station.
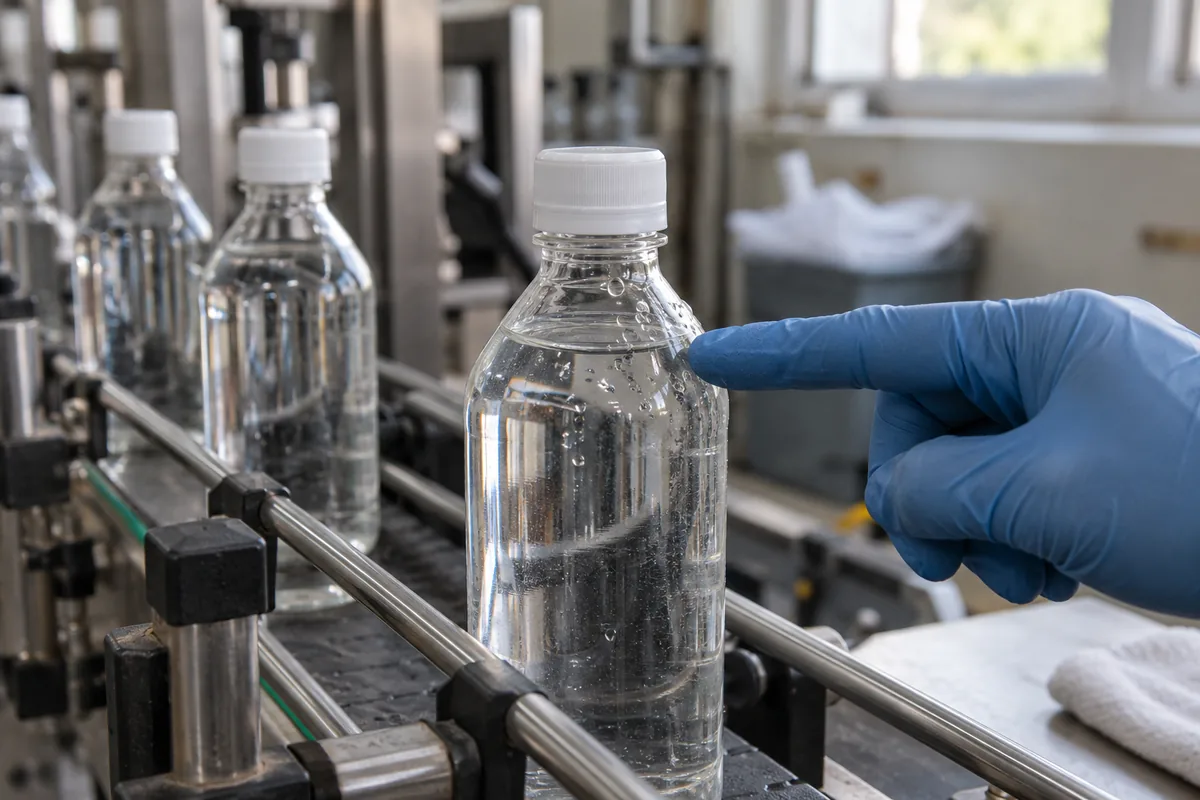
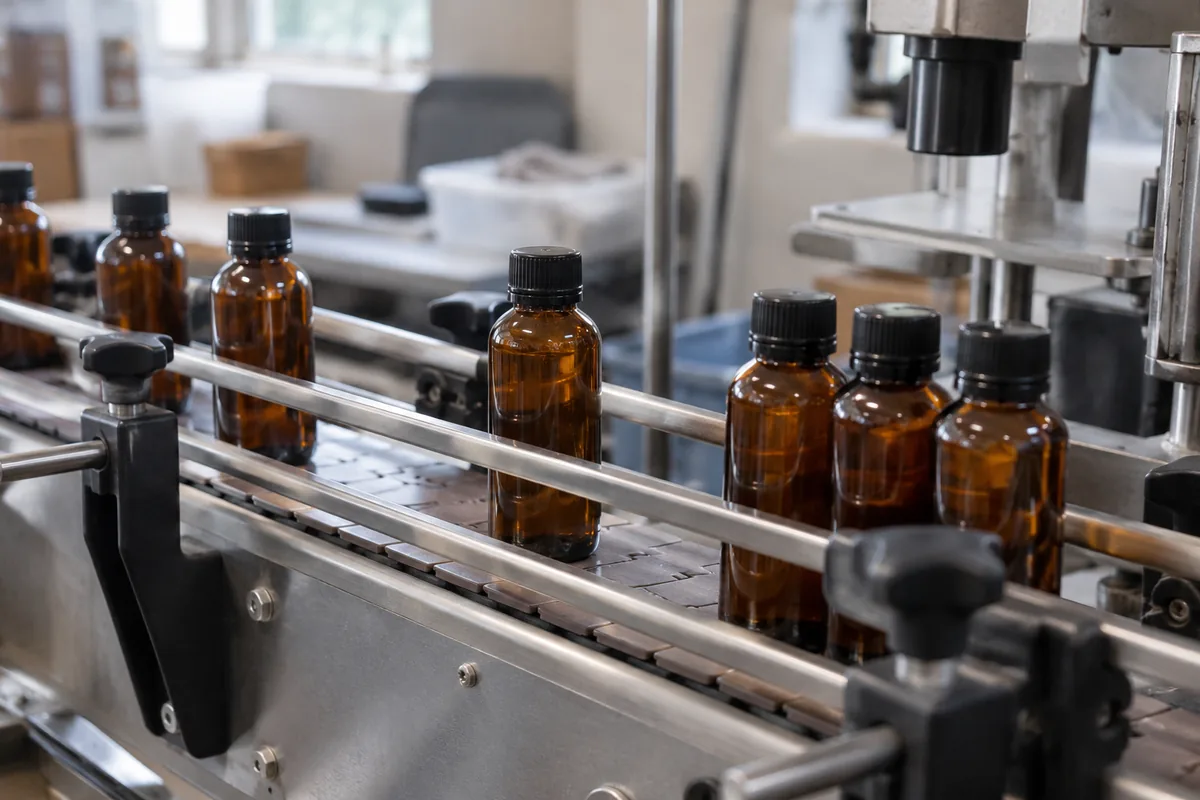
Illustrative photo — generated editorial image, not a test record, customer package or performance evidence.
Connect observations from each station using the same package identity and sequence. At a glance: Filling observation · Capping observation · Transfer observation · Labeling observation · Same sample ID.
| Observation point | Useful evidence | What it does not establish alone |
|---|---|---|
| After filling | Identified package state and exterior observation | That the same exterior state reaches labeling |
| After capping | Closure state, posture and handling/contact observations | That the label will adhere or be positioned correctly |
| Transfer/accumulation | Arrival pattern, posture, contact regions and sequence | That a universal buffer quantity prevents stoppages |
| At labeling entrance | Actual surface, reference and spacing with sample ID | That a visible later defect has one cause |
| After application | Label location, appearance and observation time | A material diagnosis or a guaranteed stable later result |
Keep overview images that show the boundary as well as any relevant detail. When handoff records concern the visible bottle/content background of a clear label, preserve the same bottle and actual-fill identity in the clear-versus-white proof record. That linked page handles appearance choice; this record keeps the incoming package identity and condition. The printing and application section keeps that visual review alongside defect observation.
Takeaway: Connect station evidence by package identity; do not let one observation stand in for the entire handoff.
Keep a matched sample handoff log
Compare an identified baseline with one recorded changed input. Keep label construction, package identity and observation basis visible so an appearance difference can be reviewed against the actual handoff evidence. This is an editorial sample log, not a prescribed machinery acceptance protocol or proof of a successful fix.
Preserve the unchanged basis and actual observation times when reviewing a handoff change. At a glance: Baseline state · Surface · Posture · Spacing · One recorded change · Same label construction · Observed outcome · Photo and time.
| Log field | Entry required |
|---|---|
| Sample identities | Bottle, closure, fill condition, label construction and batches |
| Baseline state | Surface, posture, orientation, spacing and contact record |
| Reviewed operating context | Observed transfer, pause/accumulation and restart sequence |
| Intended comparison | One changed input, with other conditions identified |
| Application observation | Label position/appearance, photographs and actual time |
| Later observation | Agreed observation window and actual time/conditions |
| Unresolved item | Who can supply the missing construction or handling evidence? |
Use one shared handoff/comparison record ID and a separate ID for each physical specimen. “Same sample ID” across the station observations means tracking one bottle across stations; it does not mean assigning the baseline and comparison bottles the same identity. If one bottle is reused, record its sequence and handling history.
| Comparison field | Baseline specimen | Changed-input specimen |
|---|---|---|
| Shared record ID / individual specimen ID | ___ / ___ | ___ / ___ |
| Actual surface, posture, orientation and spacing | ___ | ___ |
| One changed field, before → after | ___ | ___ |
| Conditions confirmed unchanged | ___ | ___ |
| Other differences or uncontrolled conditions | ___ | ___ |
| Observation time / photo / actual outcome | ___ | ___ |
| Requirement revision / pending evidence provider | ___ | ___ |
If lifting, wrinkles or pockets appear, preserve the symptom and timing using the label-defect observation log. A later defect can be considered alongside the boundary record without retrospectively assuming what the bottle surface looked like at application.
When a recorded handoff requirement becomes a post-show equipment question, use the PRINTING United supplier follow-up card to connect that task to the proposed configuration and outstanding evidence.
Takeaway: A useful comparison preserves both the arriving state and the labeled sample outcome.
When this does not apply
This guide does not prescribe conveyor length, a buffer quantity, line speed, wiring, PLC logic or a safety-interlock change. A steady-state observation does not demonstrate behavior through every pause, restart or package format. Candidate-specific requirements and qualified equipment procedures remain necessary for changes to machinery.
Some constructions have defined moist-surface application scope; others have different requirements. This page does not restrict all labels to dry bottles or infer that a claim about later condensation establishes suitability during wet application. Record the actual surface and obtain the exact construction’s documented scope. The materials section provides the structural reading route.
Takeaway: Treat unresolved handoff conditions as evidence requests, not universal machine settings or material rules.
Method and sources
Compiled from ZXSMART’s line-connection guide and CTM Labeling Systems’ application guidance, reviewed October 8, 2026. Both are supplier explanations. Their surface, presentation and integration inputs support the checklist; the station evidence table and sample log are editorial organization. No public catalog value was converted into a guaranteed buffer, throughput or defect-prevention result.
Version record: October 8, 2026 — new labeling-entry boundary record separating upstream bottle state from application and later label observations.
Takeaway: Keep the public guidance and blank log separate from evidence of the actual arriving bottle state.