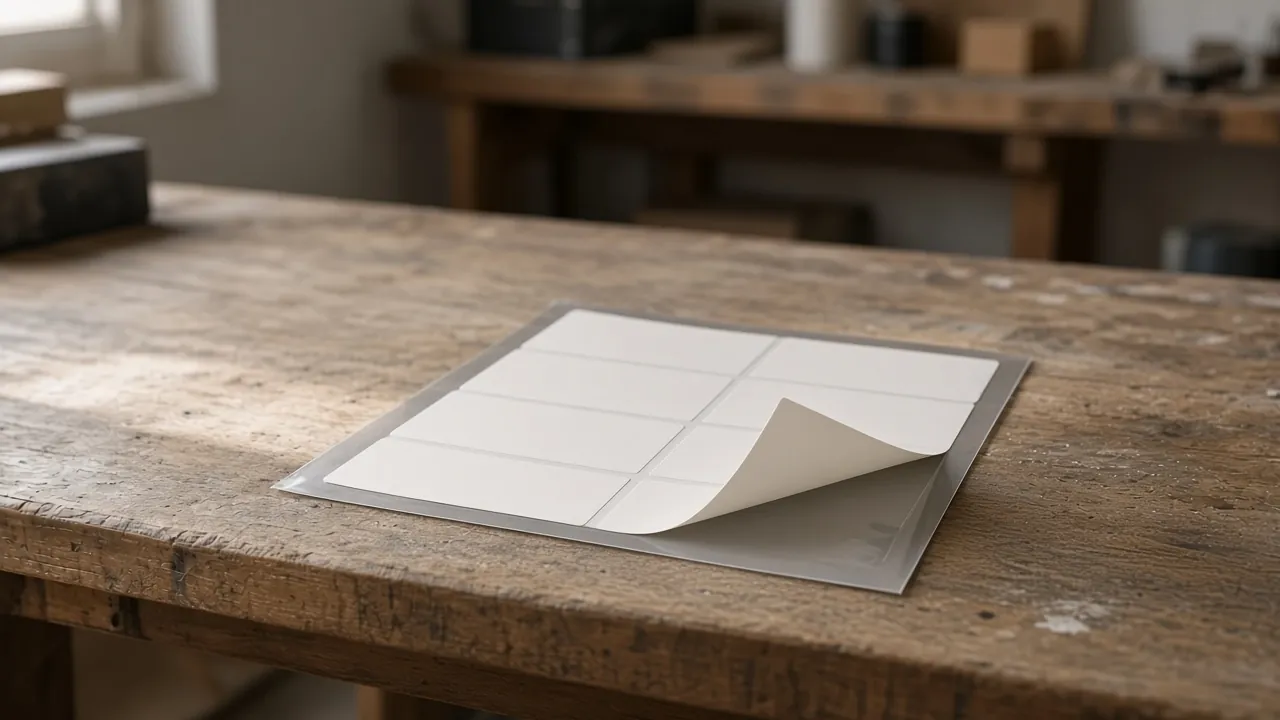
Specifying only the face material can cause label rework when the supplied construction does not match the bottle or dispensing process. Record the face material, adhesive and release liner separately, then link that complete construction to the container and its application conditions.
The conventional liner-supported pressure-sensitive bottle label discussed here arrives with adhesive already on its face material, supported by a removable release liner. Weber’s explanation establishes that basic structure; this page adds a bottle-project record that keeps component identities, print and finish, and the conditions at application separate. The record is an editorial checklist compiled from public supplier guidance, not a specification for an unnamed grade.
- Face material identifies the printable layer, not the entire label.
- Adhesive is a separate selection tied to the actual container and conditions.
- The release liner supports the supplied label and is removed during application.
- Print and protective finish belong in the finished sample record too.
Images on this page are generated editorial photos for illustration, not actual packages, test records or performance evidence.
What belongs in a construction record
Give each layer its own identity. Weber describes the printable face, pre-applied adhesive and removable liner as separate components. A construction record should preserve that separation while tying them to one finished sample. Otherwise a changed adhesive or liner can disappear behind an unchanged material description such as “film label.”
| Field | Actual project entry | Why keep it separate? |
|---|---|---|
| Face material | Paper/film/foil description and exact supplier grade or code | Identifies the layer carrying the artwork |
| Adhesive | Exact grade and its stated intended application | Identifies the interface with the container |
| Release liner | Paper/film description, exact liner identity and supplier instructions | Identifies the backing involved in dispensing and release |
| Print and finish | Print process, artwork revision, topcoat, varnish or laminate if present | Identifies what was actually evaluated, beyond unprinted stock |
| Supplied format | Roll or sheet, label contour and supplier format drawing | Connects the supplied label to the intended application method |
| Sample identity | Construction revision and label batch reference | Keeps a later comparison traceable |
Keep separate component identifiers connected to the same sample revision. At a glance: Face grade · Adhesive grade · Liner grade · Sample ID · Print and finish.
If the supplier code represents a combined construction, retain that code and request its component breakdown. Do not invent missing grades. Use the BOPP, PET and PE construction comparison when the face-film choice is the decision, and the materials section for that reading route.
Common mistake: Recording “BOPP” as though it specified adhesive, liner, print and finished-label performance.
For a proposed metallic finish on a paper label, add the Senoprint coating-and-topcoat evaluation record to the same construction file.
Takeaway: One sample record should identify every component that could change the result.
Separate application from later use
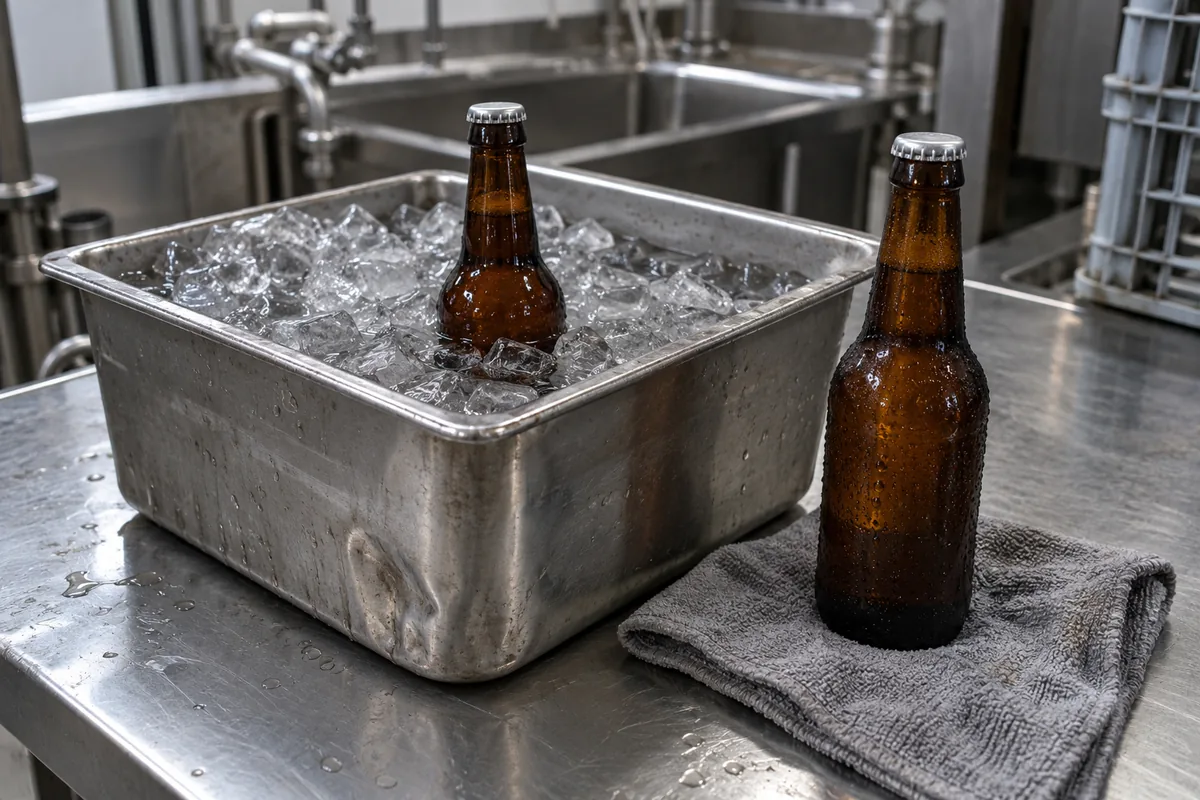
Record conditions when the label meets the bottle separately from conditions after labeling. Inovar explicitly distinguishes application environment and exposure during the product lifecycle. A supplier claim about later moisture exposure does not, on its own, establish suitability for a bottle with a wet exterior when the label is first applied.
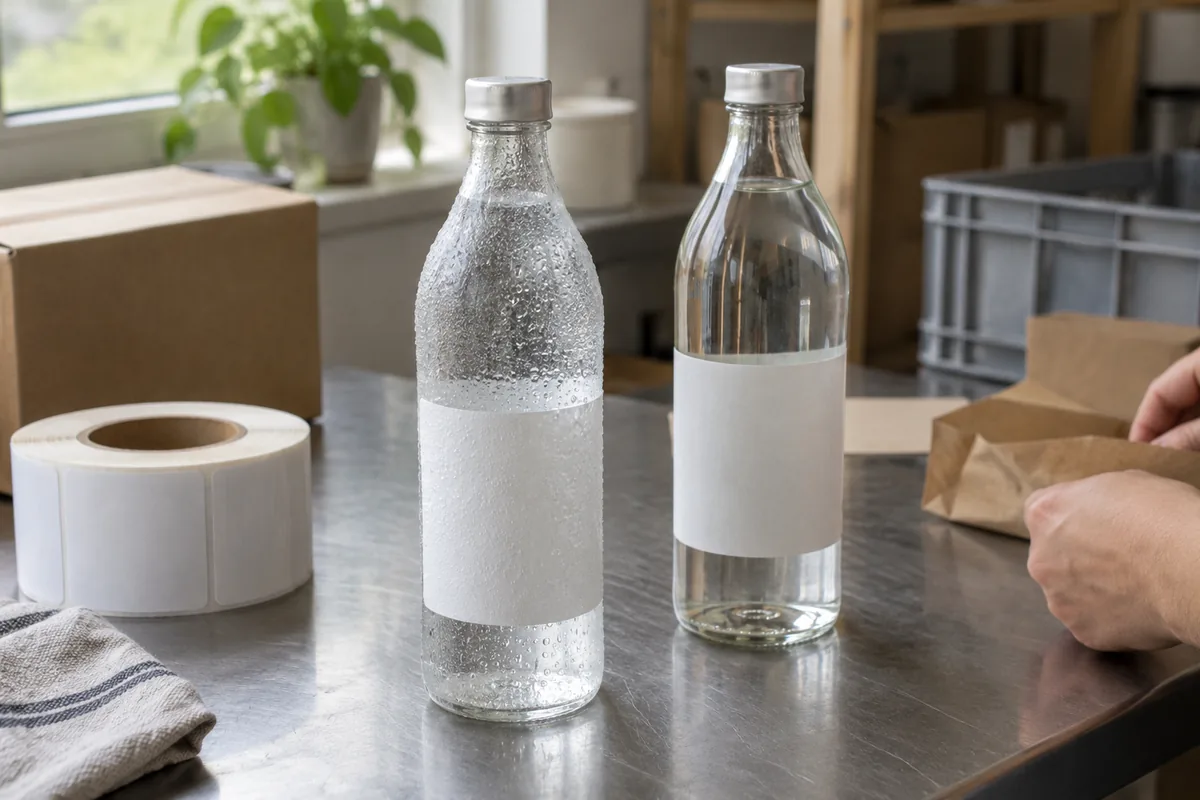
Illustrative photo — generated editorial image, not a test record, customer package or performance evidence.
Application conditions and later exposure are separate entries, not one environment claim. At a glance: At application · Bottle surface · Labeling conditions · During use · Exposure · Handling.
| Project field | At application | During later use |
|---|---|---|
| Container | Exact bottle material, finish/coating and physical sample | Same container identity, with any relevant change in shape |
| Surface | Observed dry/wet state, residue or handling marks | Contact with product, water or handling materials |
| Package state | Empty/filled, open/capped and temperature observation | Intended filled condition and storage/use sequence |
| Movement | Intended label position and manual/automatic method | Expected handling, rubbing or squeezing |
| Evidence | Supplier instruction plus identified application sample | Agreed exposure observations on the complete printed sample |
Copy these fields into the same record header: project ID; construction revision; bottle sample and shape; intended label position; observation time; document/photo reference. Add an actual-entry column for each stage and write “to be confirmed” until evidence is supplied.
Leave a field unresolved until the responsible supplier or project team can supply it. Record actual conditions rather than a general adjective such as “durable.” The label-ready bottle handoff turns upstream surface and posture into observations at the labeling entrance. The small cosmetic label-zone guide adds usable-wall and contact-area observations for small packages.
Takeaway: A label’s later-use requirement does not replace its application-condition record.
How the supplied label reaches the bottle
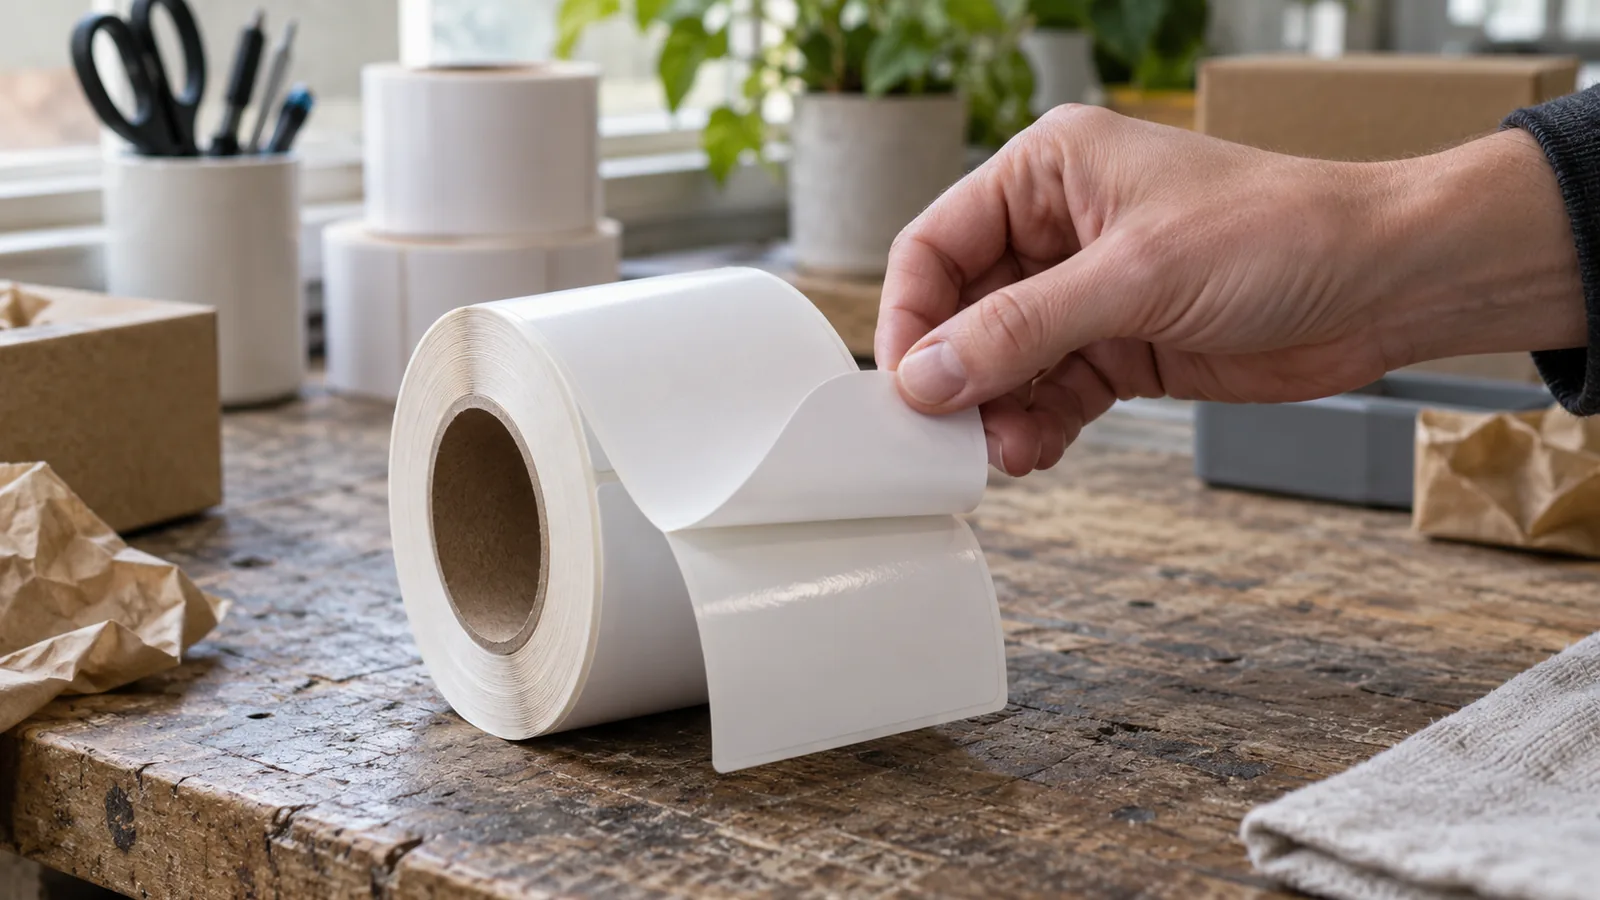
The release liner is part of the supplied construction, not the layer intended to remain between the adhesive and bottle. Weber describes a backing treated to allow label removal. Inovar describes attachment by applied pressure after the liner is removed; the needed conditions belong to the exact construction, not a universal pressure value. Record the actual supplied format and release instructions with the complete sample rather than assuming any liner works with any dispensing arrangement.
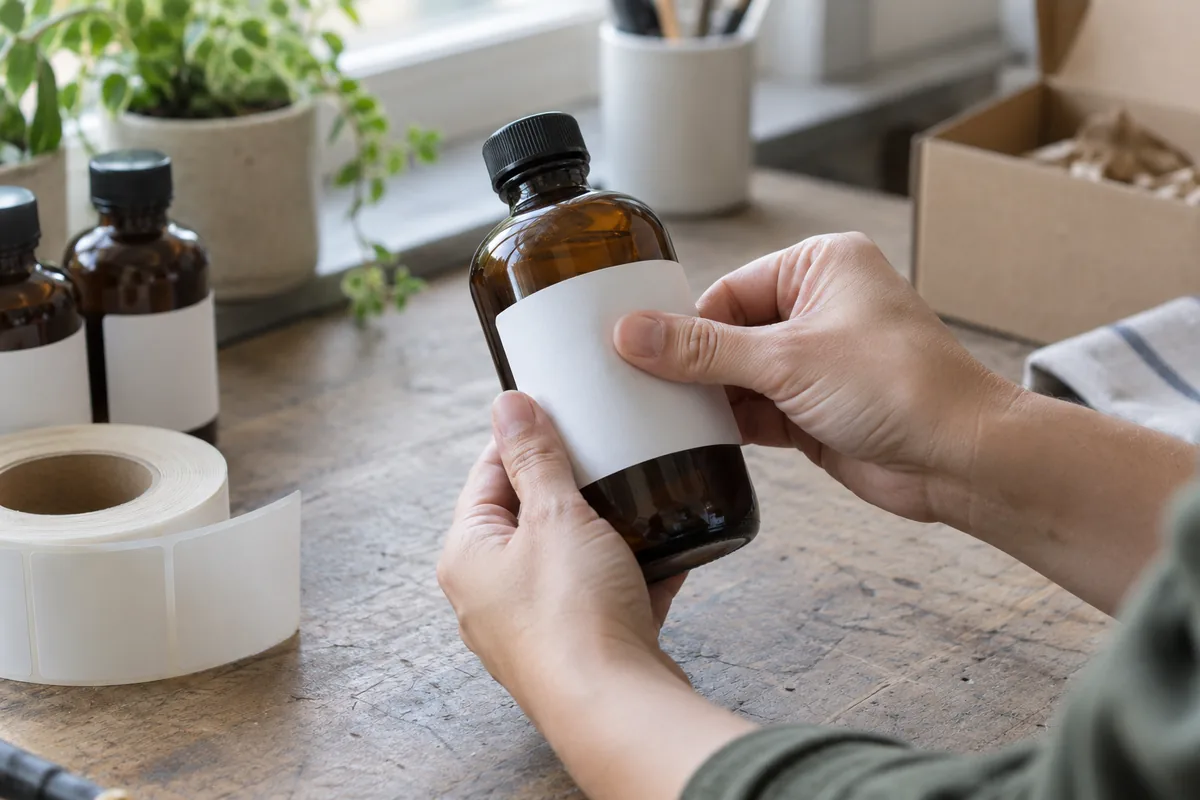
Illustrative photo — generated editorial image, not a test record, customer package or performance evidence.
At a glance: Supplied label · Remove liner · Exposed adhesive · Bottle wall.
Use this short handoff record before evaluating application:
- Identify the label batch and construction revision.
- Match its contour and supplied roll or sheet format to the format drawing.
- Identify the liner and preserve the supplier’s handling instructions.
- Record the bottle and application method represented by the sample.
- Preserve the observation and its timing with the sample identity.
For automatic equipment, record the supplier-confirmed roll presentation and label position requirements rather than supplying a generic machine setting. The inline and rotary container-requirement matrix records support and orientation. If a sample develops a defect, use the bubbles, wrinkles and lifting observation log to record it before choosing a cause.
Takeaway: Keep liner identity and supplied format in the application handoff, even though the liner leaves the finished bottle.
Where other labeling methods differ
The useful boundary is where the adhesive enters the process. Weber contrasts pressure-sensitive constructions with glue-applied labels, which receive glue during application. For another decoration route, first establish its actual attachment method. Do not transfer this face/adhesive/liner record as though every bottle decoration has the same supplied structure.
| Route being discussed | Boundary for this record | What to establish next |
|---|---|---|
| Liner-supported pressure-sensitive label | Face, pre-applied adhesive and liner describe the supplied label | Exact construction and intended bottle conditions |
| Glue-applied label | Glue is applied in the labeling process rather than supplied as this adhesive layer | Supplier-confirmed label and glue/process requirements |
| Sleeve or direct decoration | This three-layer adhesive record does not establish the route | Actual attachment/decorating method and its own sample requirements |
“Self-adhesive” is used alongside pressure-sensitive in Weber’s explanation; “clear” describes an appearance choice rather than an attachment method. Use the clear-versus-white proof record for appearance and the printing and application section for the related decisions.
Takeaway: Identify the attachment method before borrowing a construction checklist.
When this does not apply
The three-layer explanation covers conventional liner-supported labels in the cited guides. It does not establish linerless formats, a fixed adhesive coat weight, a universal application temperature or a service life. Broad supplier descriptions of adhesive families are not enough to select an exact grade. Request the construction-specific document and evaluate the finished printed label on the intended container.
Takeaway: Use the record to expose missing information, then confirm the exact construction.
Method and sources
Compiled from Weber Packaging Solutions’ structural explanation and Inovar Packaging Group’s application and lifecycle inputs, reviewed October 8, 2026. Both are supplier sources. Their specific descriptions support the component and condition fields; the tables and sequence are our editorial organization. No grade performance, temperature limit, adhesive life or cost comparison is inferred.
Version record: October 8, 2026 — new construction and bottle-condition record.
Takeaway: The sources explain component roles; the exact construction document and project conditions support actual suitability.