Changing several inputs after a label defect can waste the next sample check by obscuring the evidence needed to find its cause. First distinguish a bubble, wrinkle or lifted edge, record when it appeared, and preserve the bottle and label identities before planning a controlled sample comparison.
A visible defect describes what happened, not why. Avery’s hand-application advice and CTM’s broader guide identify several possible contributors across the container, label, surface, environment and application. This page primarily covers the pressure-sensitive bottle labels described by these sources and adds one observation record for manual or automatic application and for immediate or later changes. It is a sample-investigation checklist compiled from public guidance, not a diagnosis from a photograph or a universal machine fix.
- Describe the visible appearance before naming a cause.
- Record whether it was present immediately or appeared later.
- Keep bottle, label construction and batch references with the sample.
- Compare one identified changed input against a retained baseline.
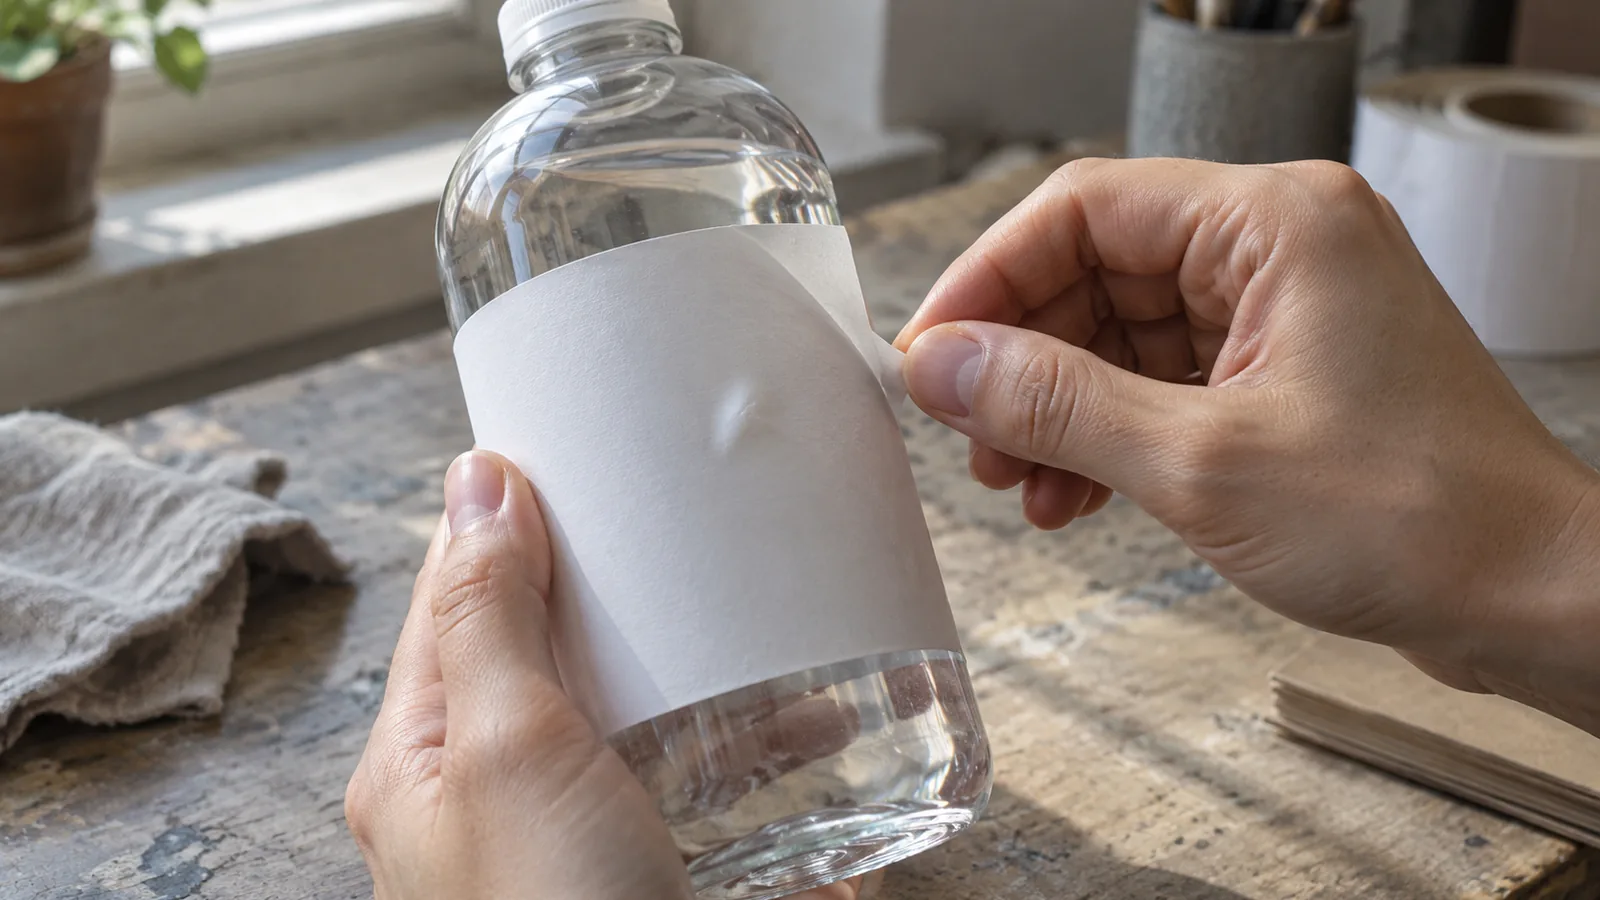
Images on this page are generated editorial photos for illustration, not actual packages, test records or performance evidence.
Separate the visible symptom from its timing
Use ordinary appearance descriptions that another person can check. A pocket under the face, a folded crease and an edge standing away from the wall are different observations, but none uniquely identifies the mechanism. Preserve the location and first-observed time so the next reviewer can distinguish application observations from later changes.
| Observation | Record at application | Record if seen later | Evidence to retain |
|---|---|---|---|
| Bubble or pocket | Location, shape and whether present at the first inspection | First observed time and storage/use sequence | Overview and close-up on the identified sample |
| Wrinkle or crease | Position, direction and relation to the label contour | Whether it was initially present or changed later | Photos showing the wall and full outline |
| Edge lifting or flagging | Which edge and its position on the wall | Onset and any intervening handling or exposure | Edge view and original sample identity |
| Mixed appearance | Each symptom separately | Sequence in which symptoms were observed | Linked views rather than one cropped photo |
Review construction/container evidence and application conditions together; timing alone does not identify a cause. At a glance: Symptom and time · Container and label · Application conditions · Missing record · Request evidence · Sample review.
“After storage” is incomplete without the stored sample identity, observation time and conditions. Do not invent a fixed inspection interval; agree a window with the supplier and record the actual times. The label construction record supplies component identities, while the label-ready bottle handoff records the incoming surface and posture.
Takeaway: A symptom record becomes useful when its location, timing and sample identity travel together.
Before approving a new label for condensation, wiping or immersion, use the waterproof bottle-label print-proof record to connect the face, print, finish and adhesive evidence to the intended exposure. Keep that approval question separate from diagnosing an existing defect.
Keep material and application explanations open
Route the investigation toward evidence, not an early verdict. Avery’s guide discusses hand-application cleanliness, movement and label sizing; CTM discusses container, construction, application and environmental contributors. Those possibilities justify checking both the supplied label and the actual application conditions. They do not prove a cause on an unexamined bottle.
| Evidence branch | Information to compare | What would justify the next sample check? |
|---|---|---|
| Container and usable area | Bottle ID, wall/contour, seam, finish and observed surface | A changed container or mismatch between outline and wall |
| Label construction | Face, adhesive, liner, print/finish, batch and supplier instruction | A changed construction or an unresolved intended-use scope |
| Application method | Manual/automatic method, sample presentation and recorded configuration identity | A difference between otherwise matched sample applications |
| Later conditions | Storage, handling, contact and actual observation times | A later change absent from the initial record |
Follow this evidence route: begin with the symptom and first-observed time, then review two branches in parallel. One branch checks container, label construction and pre-application storage evidence; the other checks actual application conditions and method. If either branch lacks an identified record, obtain it before selecting a cause. Rejoin the branches for the baseline/comparison sample review, keeping post-application exposure separate. Immediate and later observations can involve either branch.
For a contour question, use the small-bottle label-zone record. For supporting and orienting a sample, the inline/rotary requirements matrix identifies the evidence to ask for. A different face-film candidate belongs in the BOPP, PET and PE construction matrix, with the adhesive and finish still identified.
Common mistake: Calling every pocket “trapped air” and changing the face material before checking the sample’s surface, construction and timeline.
Takeaway: Keep competing explanations until a controlled comparison provides relevant evidence.
Change one variable in the sample comparison
Retain a baseline and identify one changed input in the next sample check. This is an editorial way to preserve interpretability, not a prescribed trial standard. Changing the bottle, label construction and application at once makes it difficult to connect an observed difference to any one change.
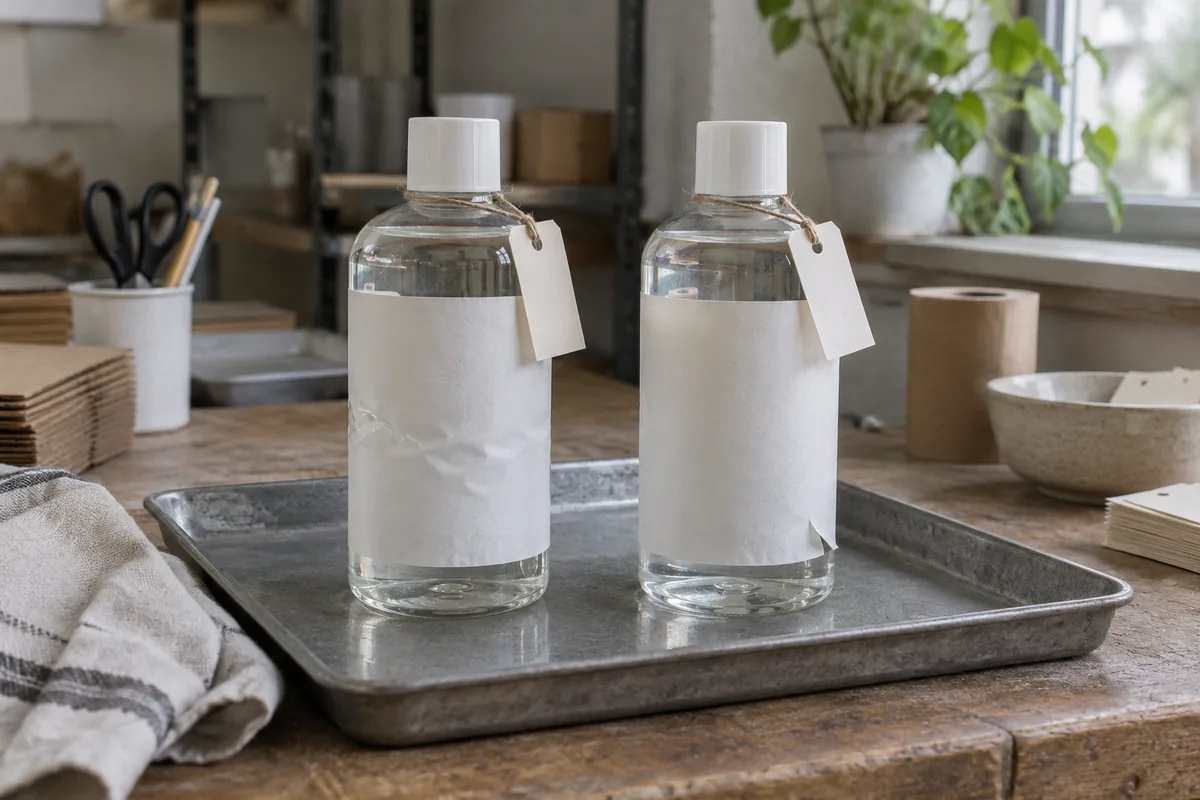
Illustrative photo — generated editorial image, not a test record, customer package or performance evidence.
Identify the one changed input and preserve the unchanged baseline. At a glance: Baseline sample and comparison sample, each with bottle and label model and batches · One changed input · Same observation window · Record outcome.
| Log field | Baseline sample | Comparison sample |
|---|---|---|
| Individual sample ID | Unique ID for the baseline specimen | Different unique ID for the comparison specimen |
| Shared model/batch basis | Bottle and label model, construction revision and batches | Same basis except the one explicitly changed input |
| Actual application time | ___ | ___ |
| Label storage before application | ___ | ___ |
| Bottle storage/use after application | ___ | ___ |
| One intended change | Baseline condition | Describe the single changed input |
| Other conditions | Surface, method, print/finish and storage/use record | Retain and document the same comparison basis |
| Initial appearance | Symptom, location, photo and time | Same observation fields |
| Later appearance | Agreed observation window, actual times and elapsed time since application | Same elapsed-time basis and actual times; unrecorded entries stay unknown |
| Outcome | Specific observed appearance | Difference observed; cause still subject to review |
| Next decision | What evidence remains missing? | Who can resolve it and with which document/sample? |
An unchanged result is useful evidence too; do not relabel it a successful fix. If the issue is only visual background, use the clear-versus-white artwork proof to keep artwork observations separate from adhesion symptoms. The printing and application section connects those different review routes.
Takeaway: Record one change and the same observation basis before interpreting a difference.
Prepare a useful supplier evidence set
Give the reviewer enough context to identify the sample and see the symptom on the whole package. A close-up alone can hide the wall contour or omit the edge involved. Preserve the original sample and link overview, detail and reverse views to its time record, construction and application method.
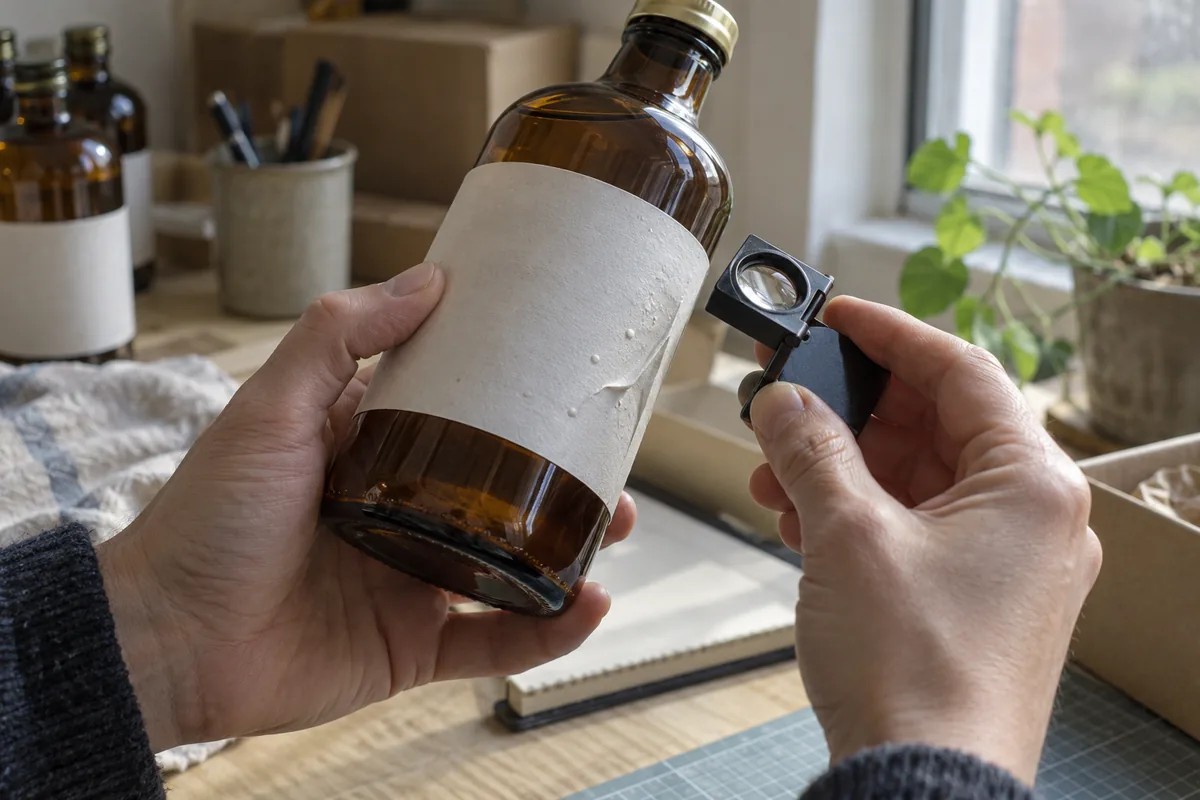
Illustrative photo — generated editorial image, not a test record, customer package or performance evidence.
Link each view to the same sample, location and observation time.
- Overview showing the full bottle, label position and surrounding wall.
- Detail showing the symptom and its boundary without hiding the location.
- Another view showing the edge, reverse panel or relevant contour.
- Bottle and label batch references, construction code and artwork/finish revision.
- First-seen time, initial-versus-later distinction and storage/use record.
- Baseline/comparison entries with the one change clearly identified.
- Supplier instructions and the unresolved question the evidence should address.
These are documentation suggestions. Obtain the grade-specific storage, handling and application instructions rather than adopting a general guide’s numerical settings. The materials section provides the supporting construction reading path.
Takeaway: An identifiable whole-package record makes the close-up useful.
When this does not apply
For glue-applied labels, sleeves or other decoration methods, retain the general photo and time record but establish the method-specific construction and causal evidence separately. Confirm the actual labeling method in the sample header.
This record cannot establish a chemical cause from a photo, promise that bubbles disappear, prescribe a roller pressure or provide PLC changes. Avery’s solvent-cleaning suggestion is not extended to every plastic, coating or filled product. Use container- and construction-specific approved instructions for any sample preparation.
Automatic-machine changes belong to qualified personnel following the equipment supplier’s procedures. This page asks for recorded configuration identity and observations; it does not instruct a live adjustment, surface-treatment process or safety-interlock change. Moisture is one recorded condition, not a separate cold/wet beverage troubleshooting program.
Takeaway: Escalate a documented sample question rather than applying a generic remedy.
Method and sources
Compiled from Avery UK’s hand-application article and CTM Labeling Systems’ multi-factor application guide, reviewed October 8, 2026. Both are supplier guidance. The symptom descriptions, timing table, controlled comparison log and photo checklist are editorial organization. We excluded generic solvent prescriptions, numeric equipment settings, universal adhesive times and unsupported guarantees.
Version record: October 8, 2026 — new unified observation record for immediate/later and manual/automatic contexts. No original defect tests or successful fixes are claimed.
Takeaway: Use supplier guidance to organize the investigation and sample evidence to assess the particular defect.