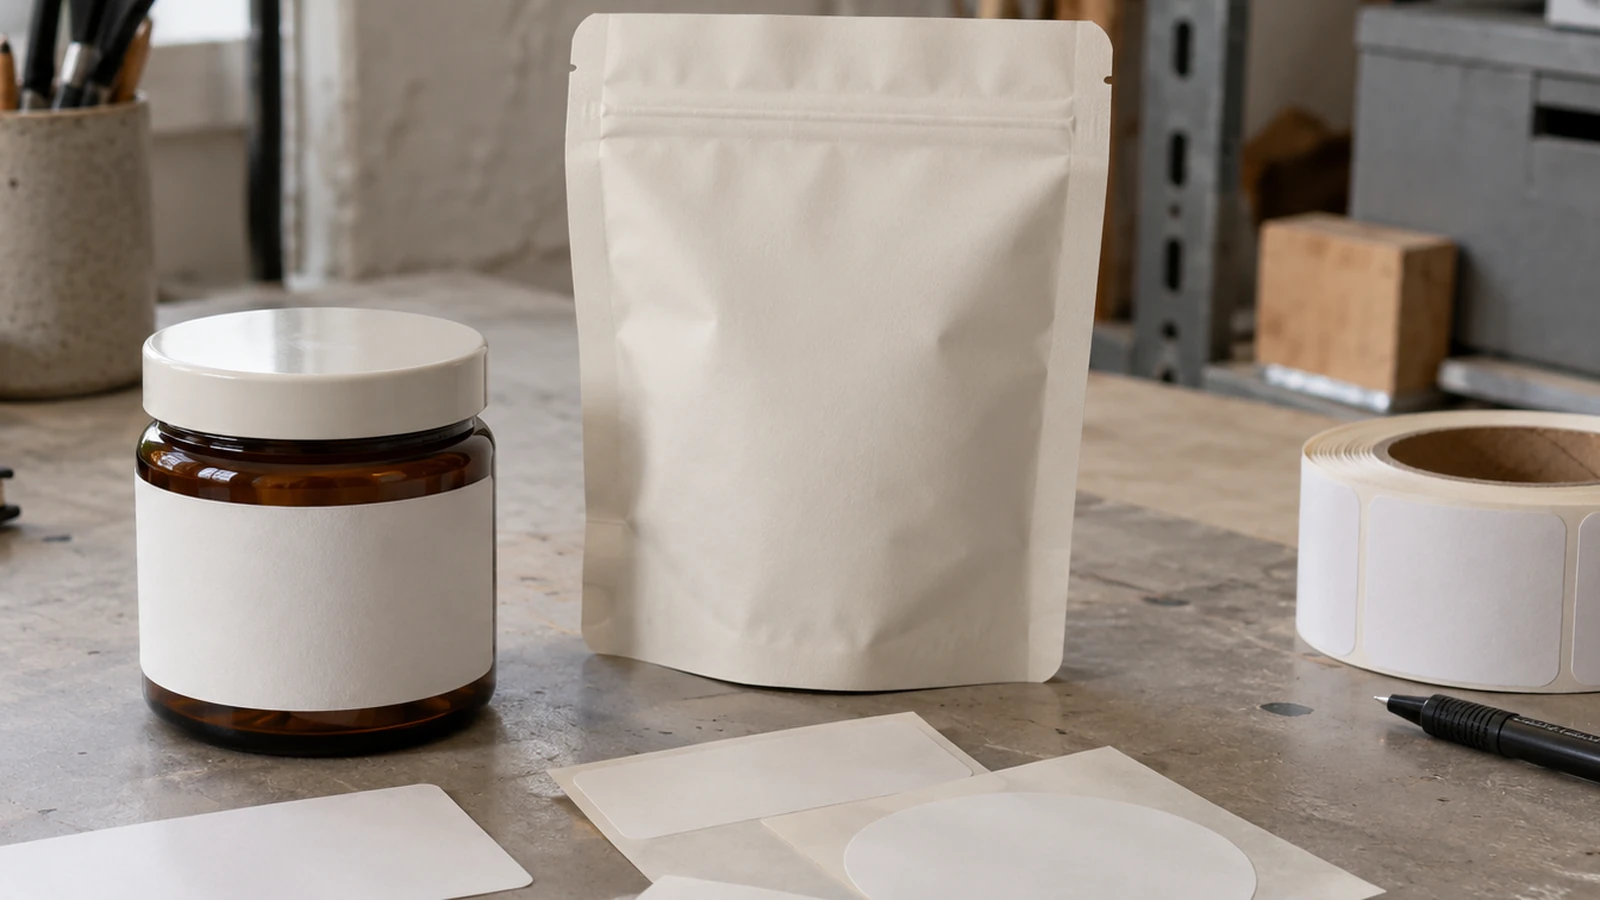
Choosing a label from bottle capacity alone can cause artwork rework when its outline reaches a shoulder, seam or moving closure. Mark the usable wall on the actual bottle or jar, then check geometry with a non-adhesive contour. Evaluate an identified unprinted construction sample separately, followed by the finished printed sample for artwork and contact performance.
For a small cosmetic package, usable label area is a project observation, not a standard size inferred from capacity. Separate the straight wall from the shoulder, heel, seam and closure; keep the actual measurements and contour revision beside the sample. This guide compiles public supplier inputs into a preparation checklist. It makes no claim of firsthand trials or universal oil/water resistance.
| Input or item | Typical value or source | Why it matters |
|---|---|---|
| Bottle/jar and closure | Identified physical package and drawing | Establishes the object being labeled |
| Proposed usable wall | Marked sample with measured references | Keeps the contour inside the intended area |
| Label contour | Versioned project drawing | Identifies the shape being reviewed |
| Complete construction | Exact supplier code and sample | Separates fit from adhesion and finish |
| Contact and movement | Intended product/use record | Defines what the finished sample needs to demonstrate |
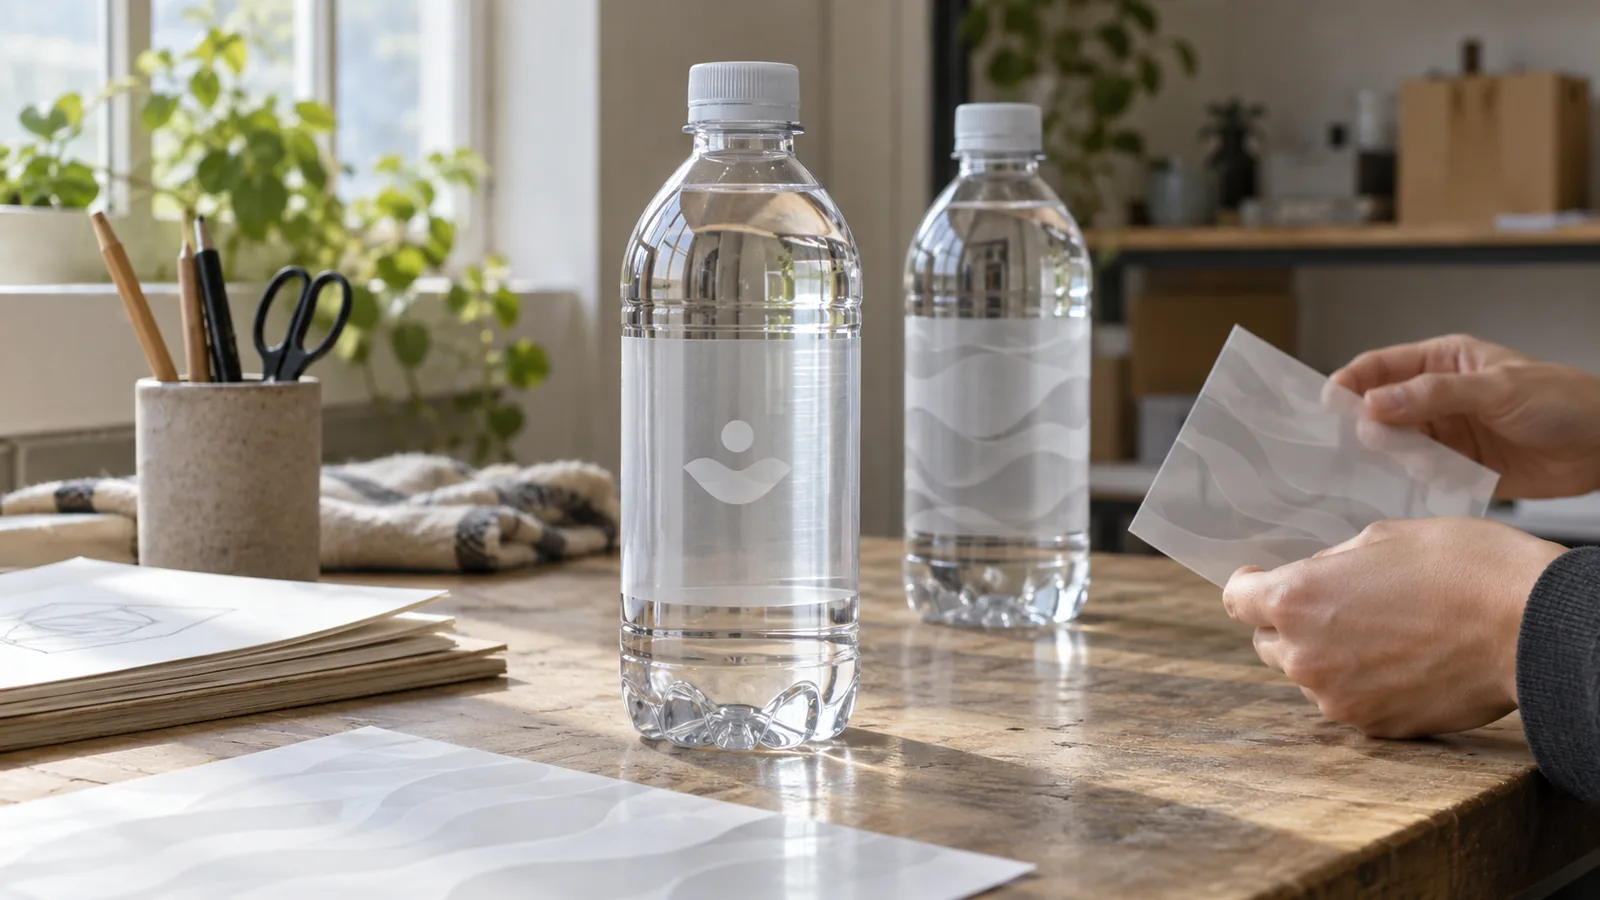
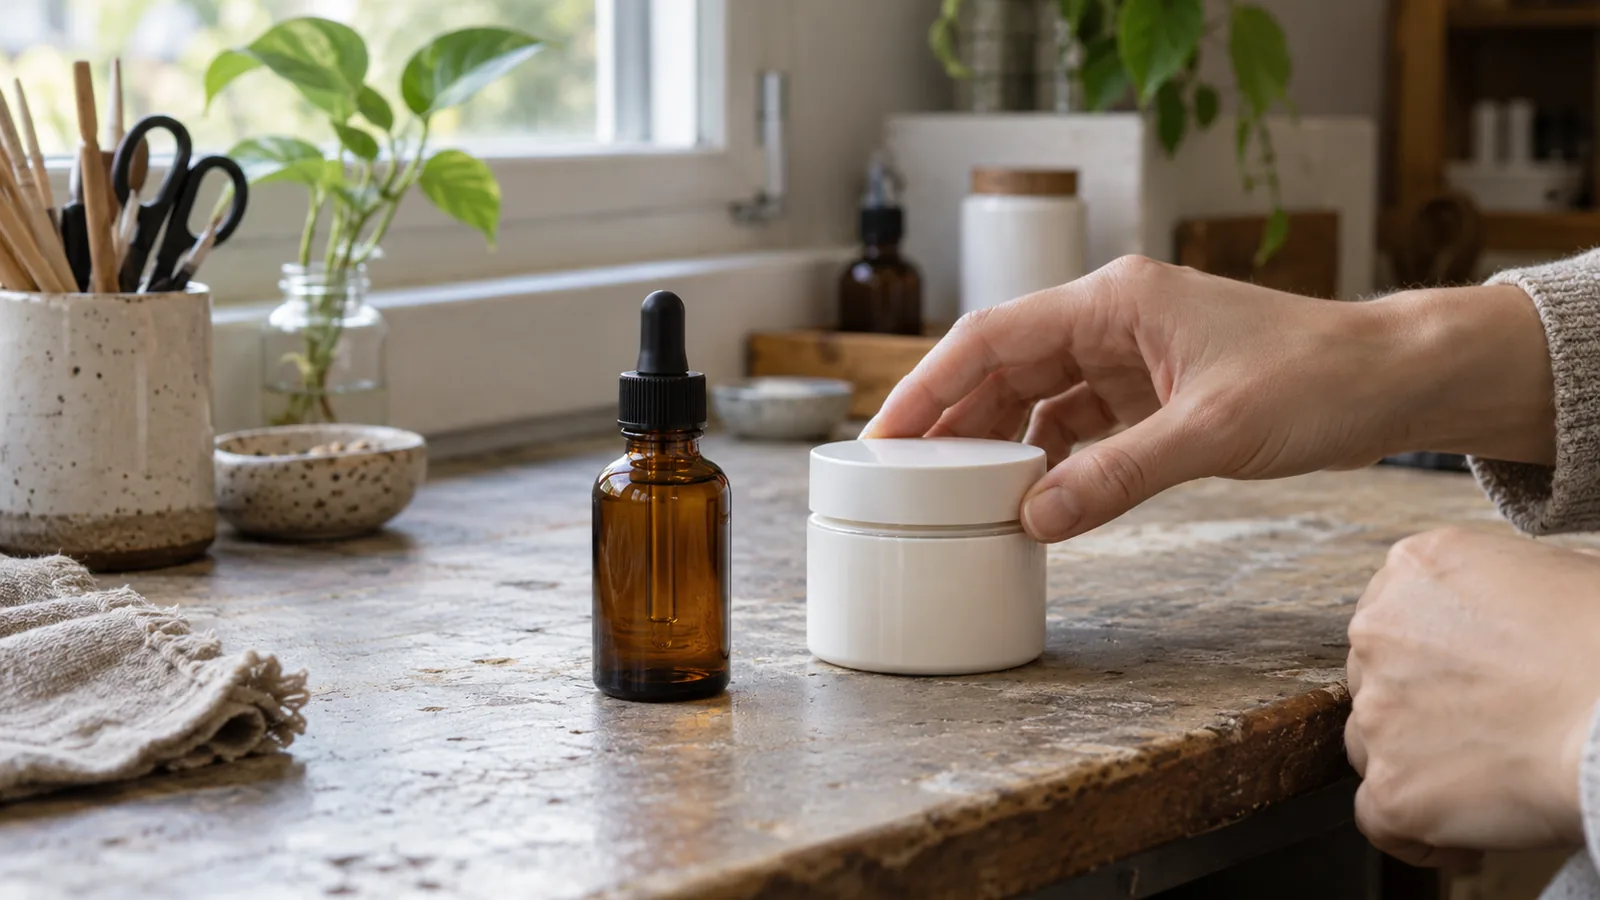
Images on this page are generated editorial photos for illustration, not actual packages, test records or performance evidence.
Map the actual bottle or jar wall
Begin with the physical package rather than a generic label-size chart. Avery’s cosmetic-label page offers varied shapes and locations and points readers toward measurement. Our proposed region map makes the package boundaries explicit: mark where the intended label meets a straight wall, a curve, a seam or a closure that moves independently.
| Region | What to mark on the sample | Decision it supports |
|---|---|---|
| Straight wall | Proposed outline and its actual wall limits | Establishes the starting label area |
| Shoulder or heel | Where the wall changes shape | Identifies where a contour or construction needs separate review |
| Seam, embossing or surface feature | Actual location relative to the outline | Prevents a hidden interruption of the proposed area |
| Lid, cap or opening boundary | How the closure moves relative to the wall | Distinguishes wall labeling from a separate closure/seal task |
| Curved or squeezed wall | Intended movement and actual shape | Identifies the construction question for the sample review |
Avery Dennison’s October 2025 guide separates film conformability, container characteristics and named product families. That supports asking for the intended family/grade scope at a curved or moving wall; it does not verify the entire adhesive/liner/printed construction for this package.
For the material record, use the pressure-sensitive construction checklist. For a moving wall, the BOPP, PET and PE matrix preserves grade scope rather than choosing from a plastic name. The packaging cases section places this physical preparation beside other package-specific reading.
Takeaway: Mark the proposed wall and its interruptions before choosing the label outline.
Measure and identify the proposed label zone
Write measurements with their units, references and package identity. “Small bottle” is not a dimension, and total body height is not necessarily usable label height. The record below asks the project team to supply actual values; none are filled with a supposedly standard cosmetic-label size or tolerance.
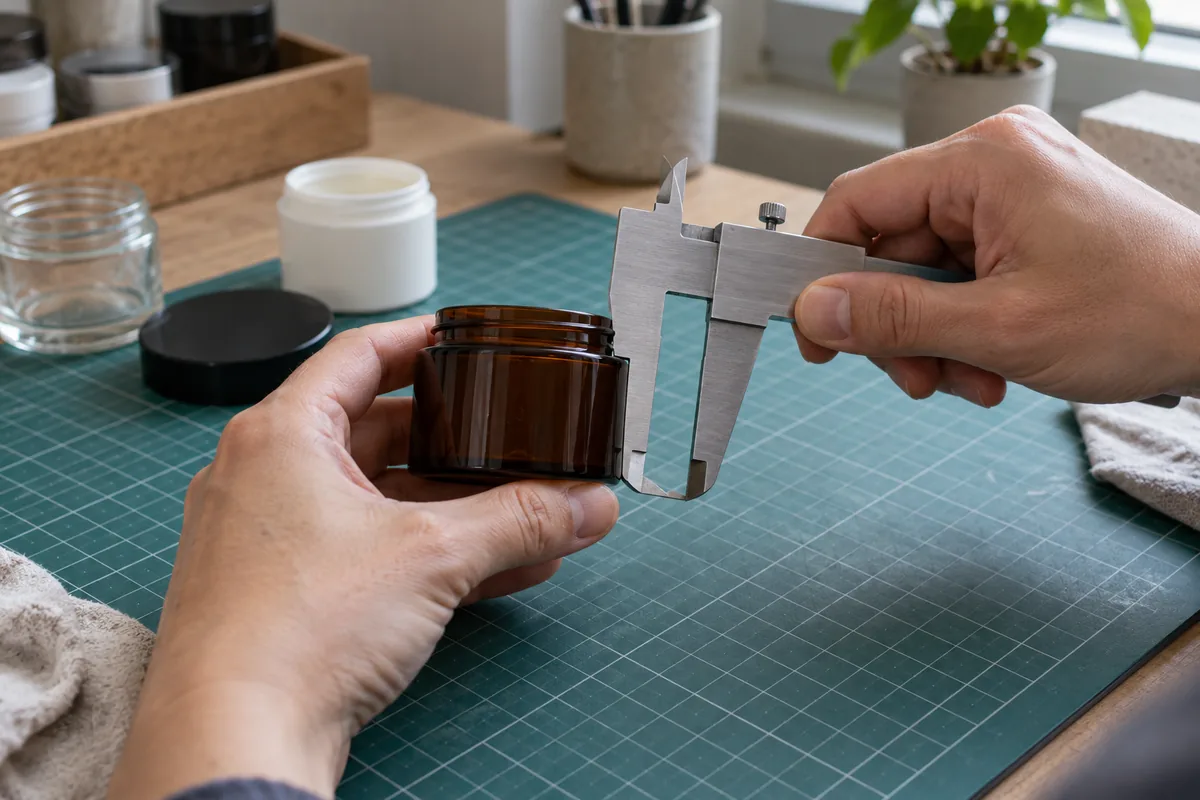
Illustrative photo — generated editorial image, not a test record, customer package or performance evidence.
Use the actual package and keep units and the measurement references in the record. At a glance: Usable height · Seam position · Wall span · Record units · Package ID.
| Measurement/record field | Entry to make | Reference to preserve |
|---|---|---|
| Package identity | Supplier/package code and sample ID | Actual bottle or jar and closure |
| Proposed label height | Measured usable height, with unit | Start/end marks on the intended wall |
| Local panel width | Measured span at the marked height/path, with unit | Local panel reference, separate from a full circumference |
| Circumferential span if relevant | Measured intended wrap path at its stated height, with unit | Actual start/end locations on the package |
| End relationship | Intended gap or overlap, without a prescribed value | Corresponding contour revision and end marks |
| Shape changes with height | Actual measurements/references at relevant locations | Boundaries requiring supplier review |
| Observation date and measurer | ___ | Record who checked which actual package |
| Seam and feature position | Location relative to the proposed outline | Marked sample or annotated photo |
| Contour revision | Drawing reference and shape | The outline used for the sample check |
| Measurement method | Tool and how the references were located | Who measured which physical sample |
| Unresolved boundary | Missing field and responsible party | Package supplier or label supplier evidence needed |
Use the actual supplier drawing where available and compare it with the identified sample. A change of package or closure belongs in the record as a new comparison basis. The inline/rotary container-requirement guide carries the resulting label panel into support and orientation questions.
Takeaway: A usable-area measurement needs both units and a marked reference on the actual package.
Check a blank contour before approving artwork
A blank shape sample can expose a proposed outline crossing the wrong wall region before detailed artwork work proceeds. Treat that as a geometry observation. A non-adhesive paper contour does not establish the behavior of an adhesive film construction, and an unprinted construction sample does not establish the finished ink or coating performance.
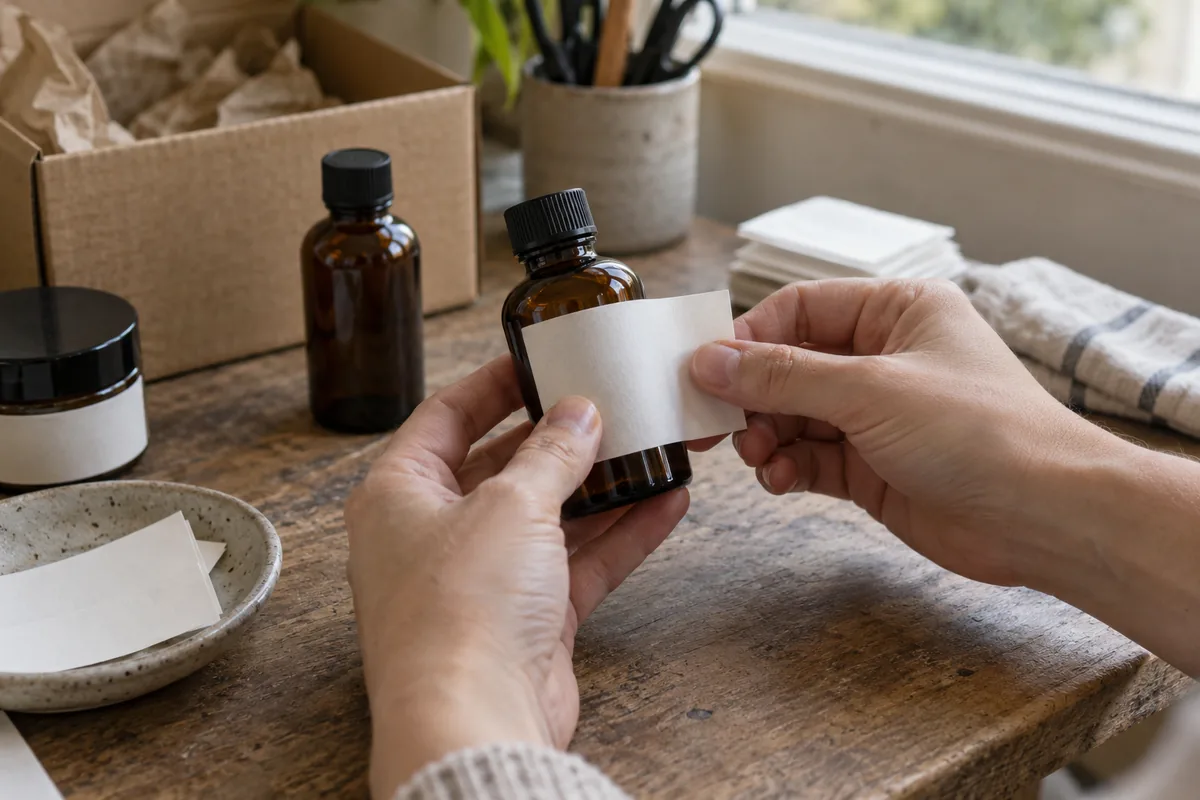
Illustrative photo — generated editorial image, not a test record, customer package or performance evidence.
A non-adhesive shape check does not prove adhesion or printed-label durability. At a glance: Blank contour · Wall fit · Edge position · Construction sample.
- Identify the physical bottle/jar and the contour revision.
- Place a non-adhesive shape representation against the proposed region to check its boundaries.
- Record the edge, shoulder, seam and closure relationships in overview and detail views.
- For the construction evaluation, use an identified unprinted sample supplied for that purpose.
- Record the intended application state and agreed handling; preserve the actual observations.
- Revisit the finished printed sample before approving print and use performance.
Copy this blank geometry record before the separate construction and finished-print reviews:
| Package / contour revision | Location checked | Actual observation | Photo reference | Date / reviewer | Unresolved item / next check |
|---|---|---|---|---|---|
| ___ | Upper/lower edge | ___ | ___ | ___ | ___ |
| ___ | Shoulder/heel boundary | ___ | ___ | ___ | ___ |
| ___ | Seam or surface feature | ___ | ___ | ___ | ___ |
| ___ | Closure and contour ends | ___ | ___ | ___ | ___ |
Keep different specimen IDs for the non-adhesive contour, unprinted construction sample and finished printed sample. An observation about one must not be recorded as the result for another.
These are editorial preparation steps, not a prescribed industry method. The clear-versus-white artwork proof is the next appearance task. For an upstream-filled sample, use the label-ready bottle handoff to identify the exterior condition at application.
Common mistake: Using a loose paper contour that fits the wall as proof that the complete printed label will adhere and survive product contact.
Takeaway: Keep geometry, adhesive construction and finished-print observations separate.
Record water, oil and squeezing conditions separately
Name the actual exposure and package movement that the sample needs to represent. Avery and PrintRunner advertise particular cosmetic label options for resistance tasks; those buying-page claims are tied to offered materials and finishes. They do not establish that every paper, film or adhesive combination withstands every cosmetic product contact.
Name the actual contact and intended movement; do not infer a blanket resistance claim. At a glance: Record actual conditions · Water contact · Oil contact · Squeezing · Observe the sample.
| Condition to record | Project input | Sample evidence to retain |
|---|---|---|
| Water contact | Actual intended splash, wet handling or other exposure | Complete printed construction and observed appearance |
| Oil/product contact | Identified external product contact and location | Supplier-reviewed conditions and sample result |
| Squeezing | Intended bottle movement and package state | Label appearance before/after the agreed handling |
| Rubbing/handling | Actual contact regions during use | Finish and print identity beside observations |
| Application exterior | Actual surface condition when labeled | Application record, distinct from later contact |
For each contact row, attach this blank record: sample/package ID ___; construction and print/finish revision ___; medium/product identity ___; contact location/method ___; proposed duration or repetitions ___; actual duration or repetitions ___; supplier-confirmed scope ___; actual observation time/photo ___; observed change and pending review ___. Proposed conditions and actual observations stay separate. No universal interval, number of squeezes or acceptance threshold is supplied.
If the sample develops a pocket, crease or lifted edge, use the label-defect observation log before attributing the change to one material. The printing and application section connects those observations to the appearance-proof route.
Takeaway: A resistance question should identify the contact, construction and observed sample.
When this does not apply
This preparation route does not define cosmetic-label law, mandatory copy, minimum type size or a standard dimension. It does not determine formulation, filling quantities or machine selection. A sample contour is not a promised fit tolerance, and a supplier’s resistant option is not a universal material guarantee.
Labels spanning closures, compound surfaces or unusual movements need their own supplier-reviewed scope. Record such a boundary explicitly rather than treating it as a straightforward wall label. The materials section supports the construction decision after the physical area is identified.
Takeaway: Use the checklist to define the physical task, then verify requirements outside a simple wall label separately.
Method and sources
Compiled from Avery’s cosmetic-label buying page, PrintRunner’s health-and-beauty label material/finish descriptions and Avery Dennison’s North American Film Materials Technical Guide, October 2025 edition. Reviewed October 8, 2026. These are supplier sources; their offered options and guidance are not independent tests. The region, measurement, contour and contact tables are editorial preparation records.
Version record: October 8, 2026 — new small-package wall-zone route, with shape checks separated from construction and printed-label evaluation. No original sample results are claimed.
Takeaway: Use supplier guidance to prepare the package record, then evaluate the exact contour and construction.